Why, Hello There!

It’s now October 17th and I’m sure many (probably all) of you are wondering when the tiny house tour is going to happen. 

Well….now! 

Let’s start out downstairs.


Right when you walk in, you are in our kitchen. Beautiful blue green cabinets, farmhouse sink, white subway tile. 

It’s so full of light.


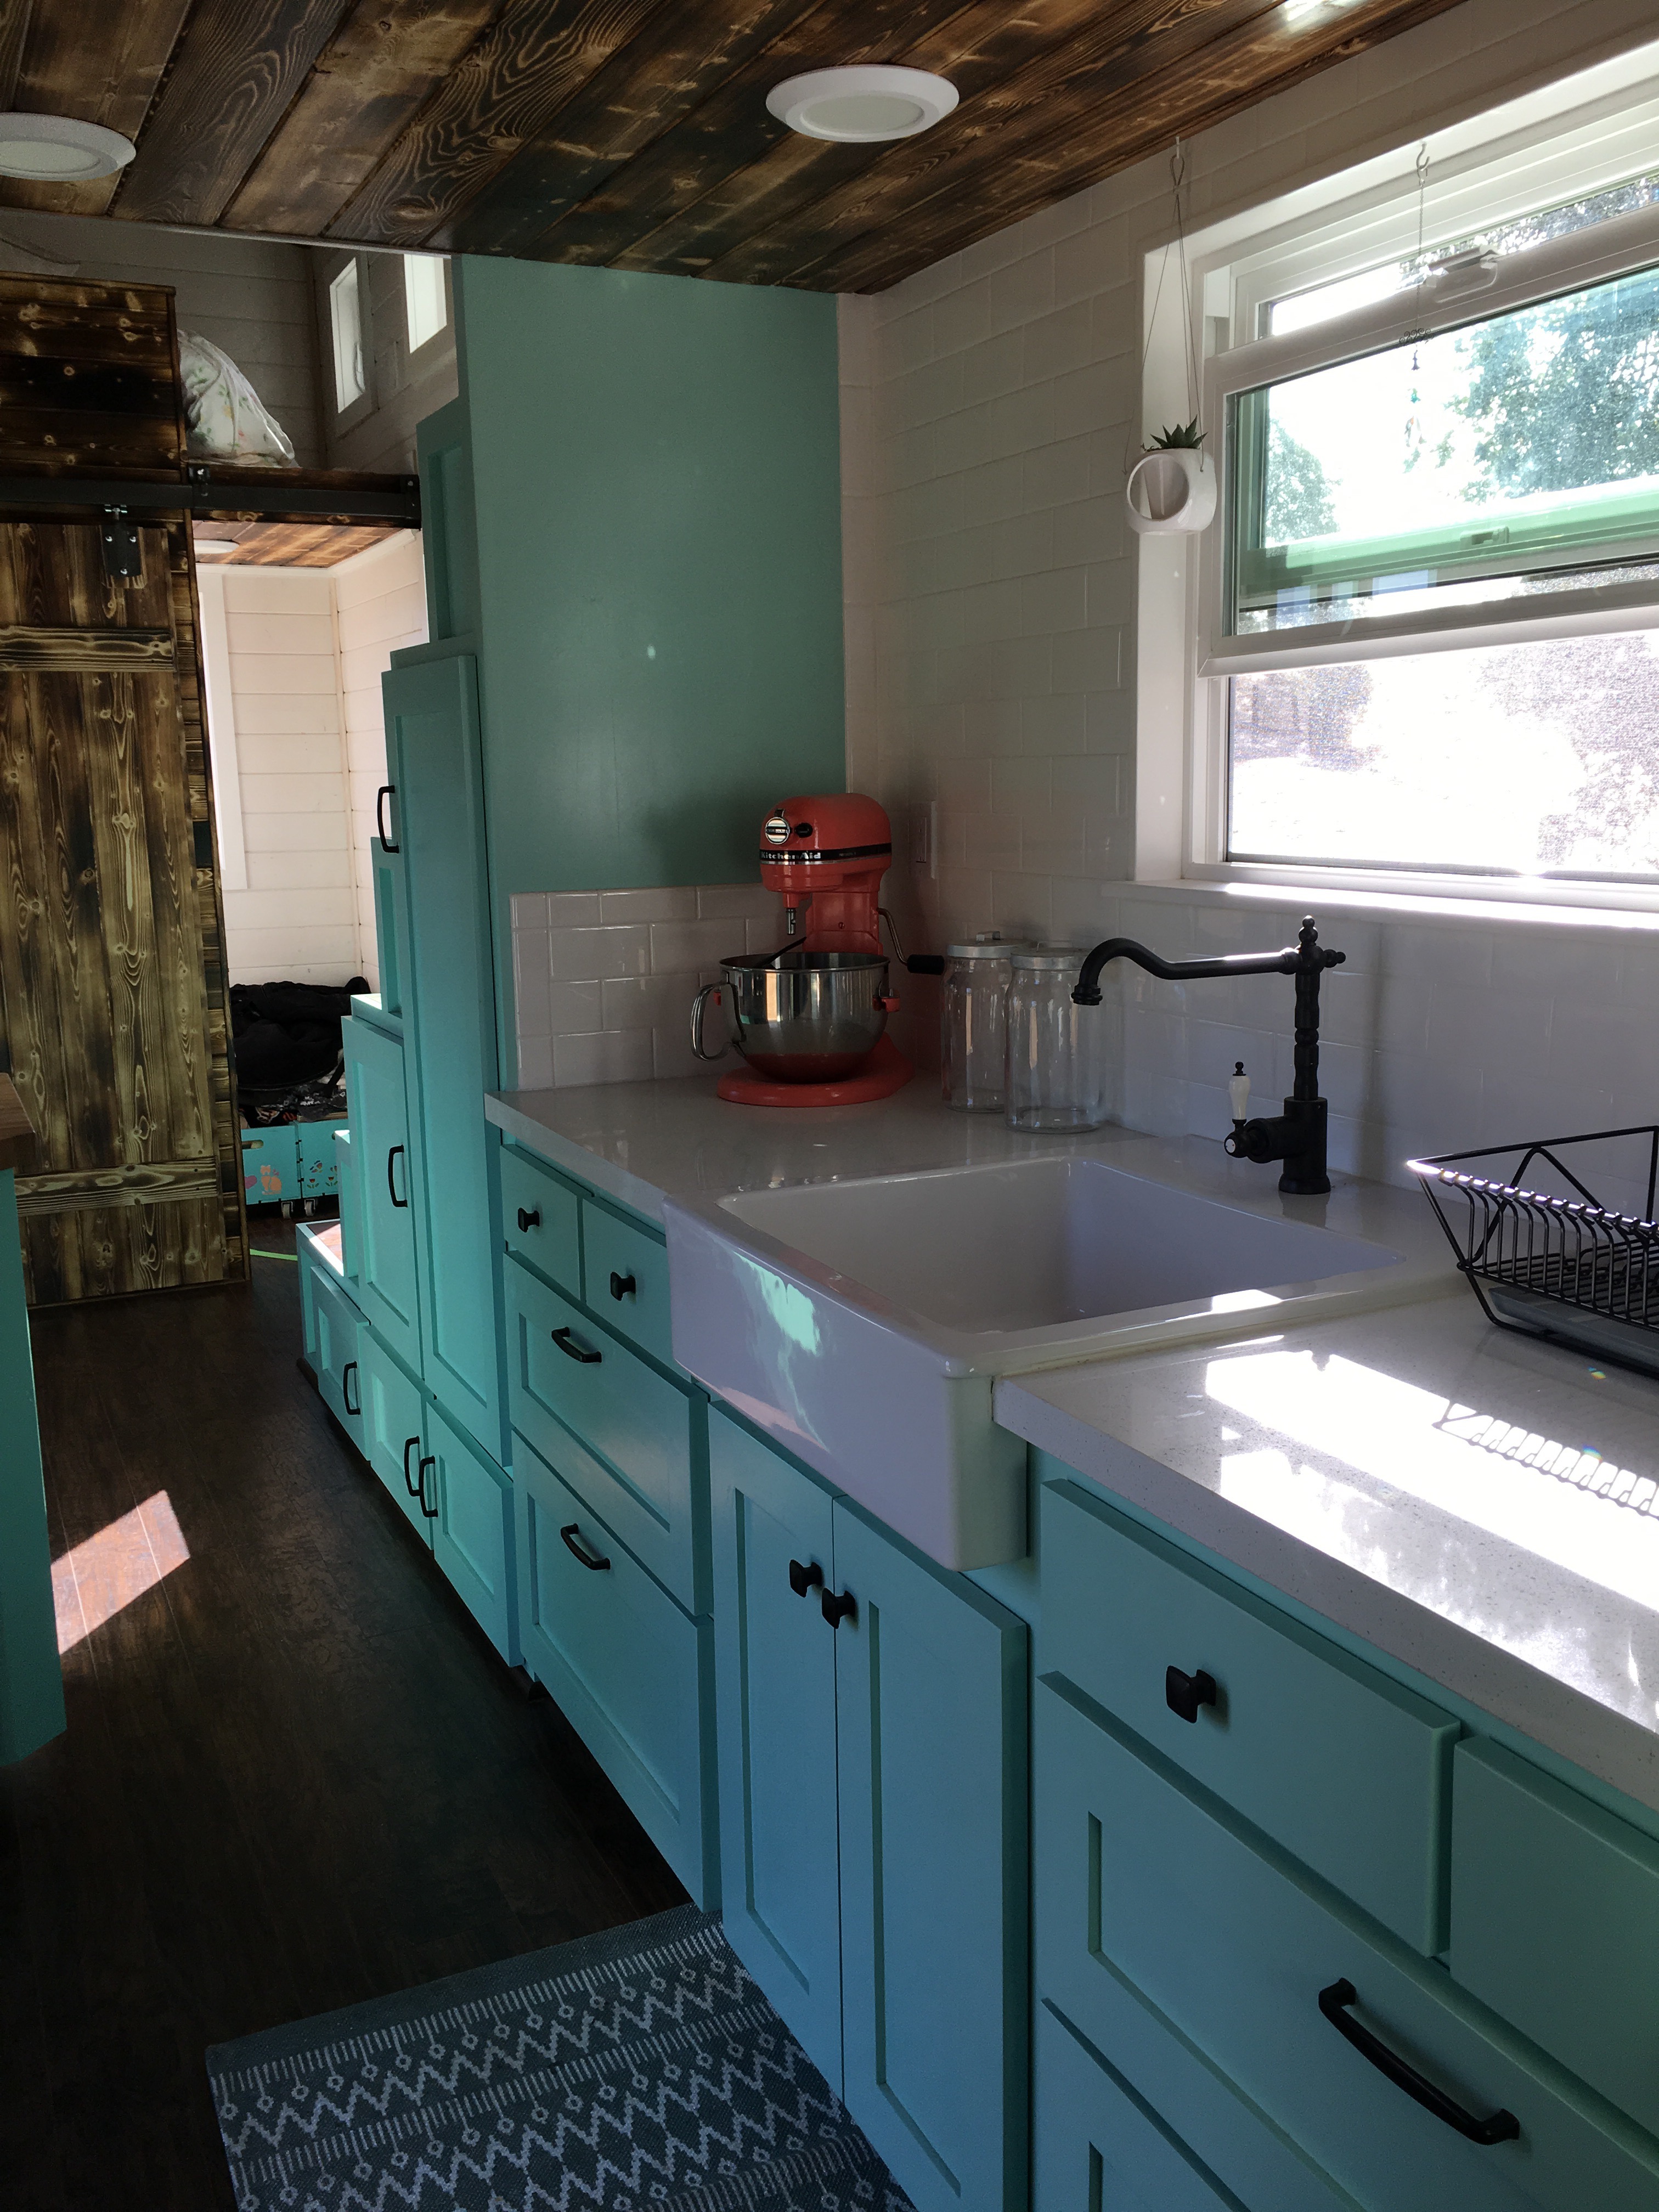
Plumbing is still in the works, but soon we will have running water.


My range may only be 21 inches, but it has 4 burners, a broiler and an oven that I can fit a full size roasting pan in. 

That means I can roast a whole turkey!


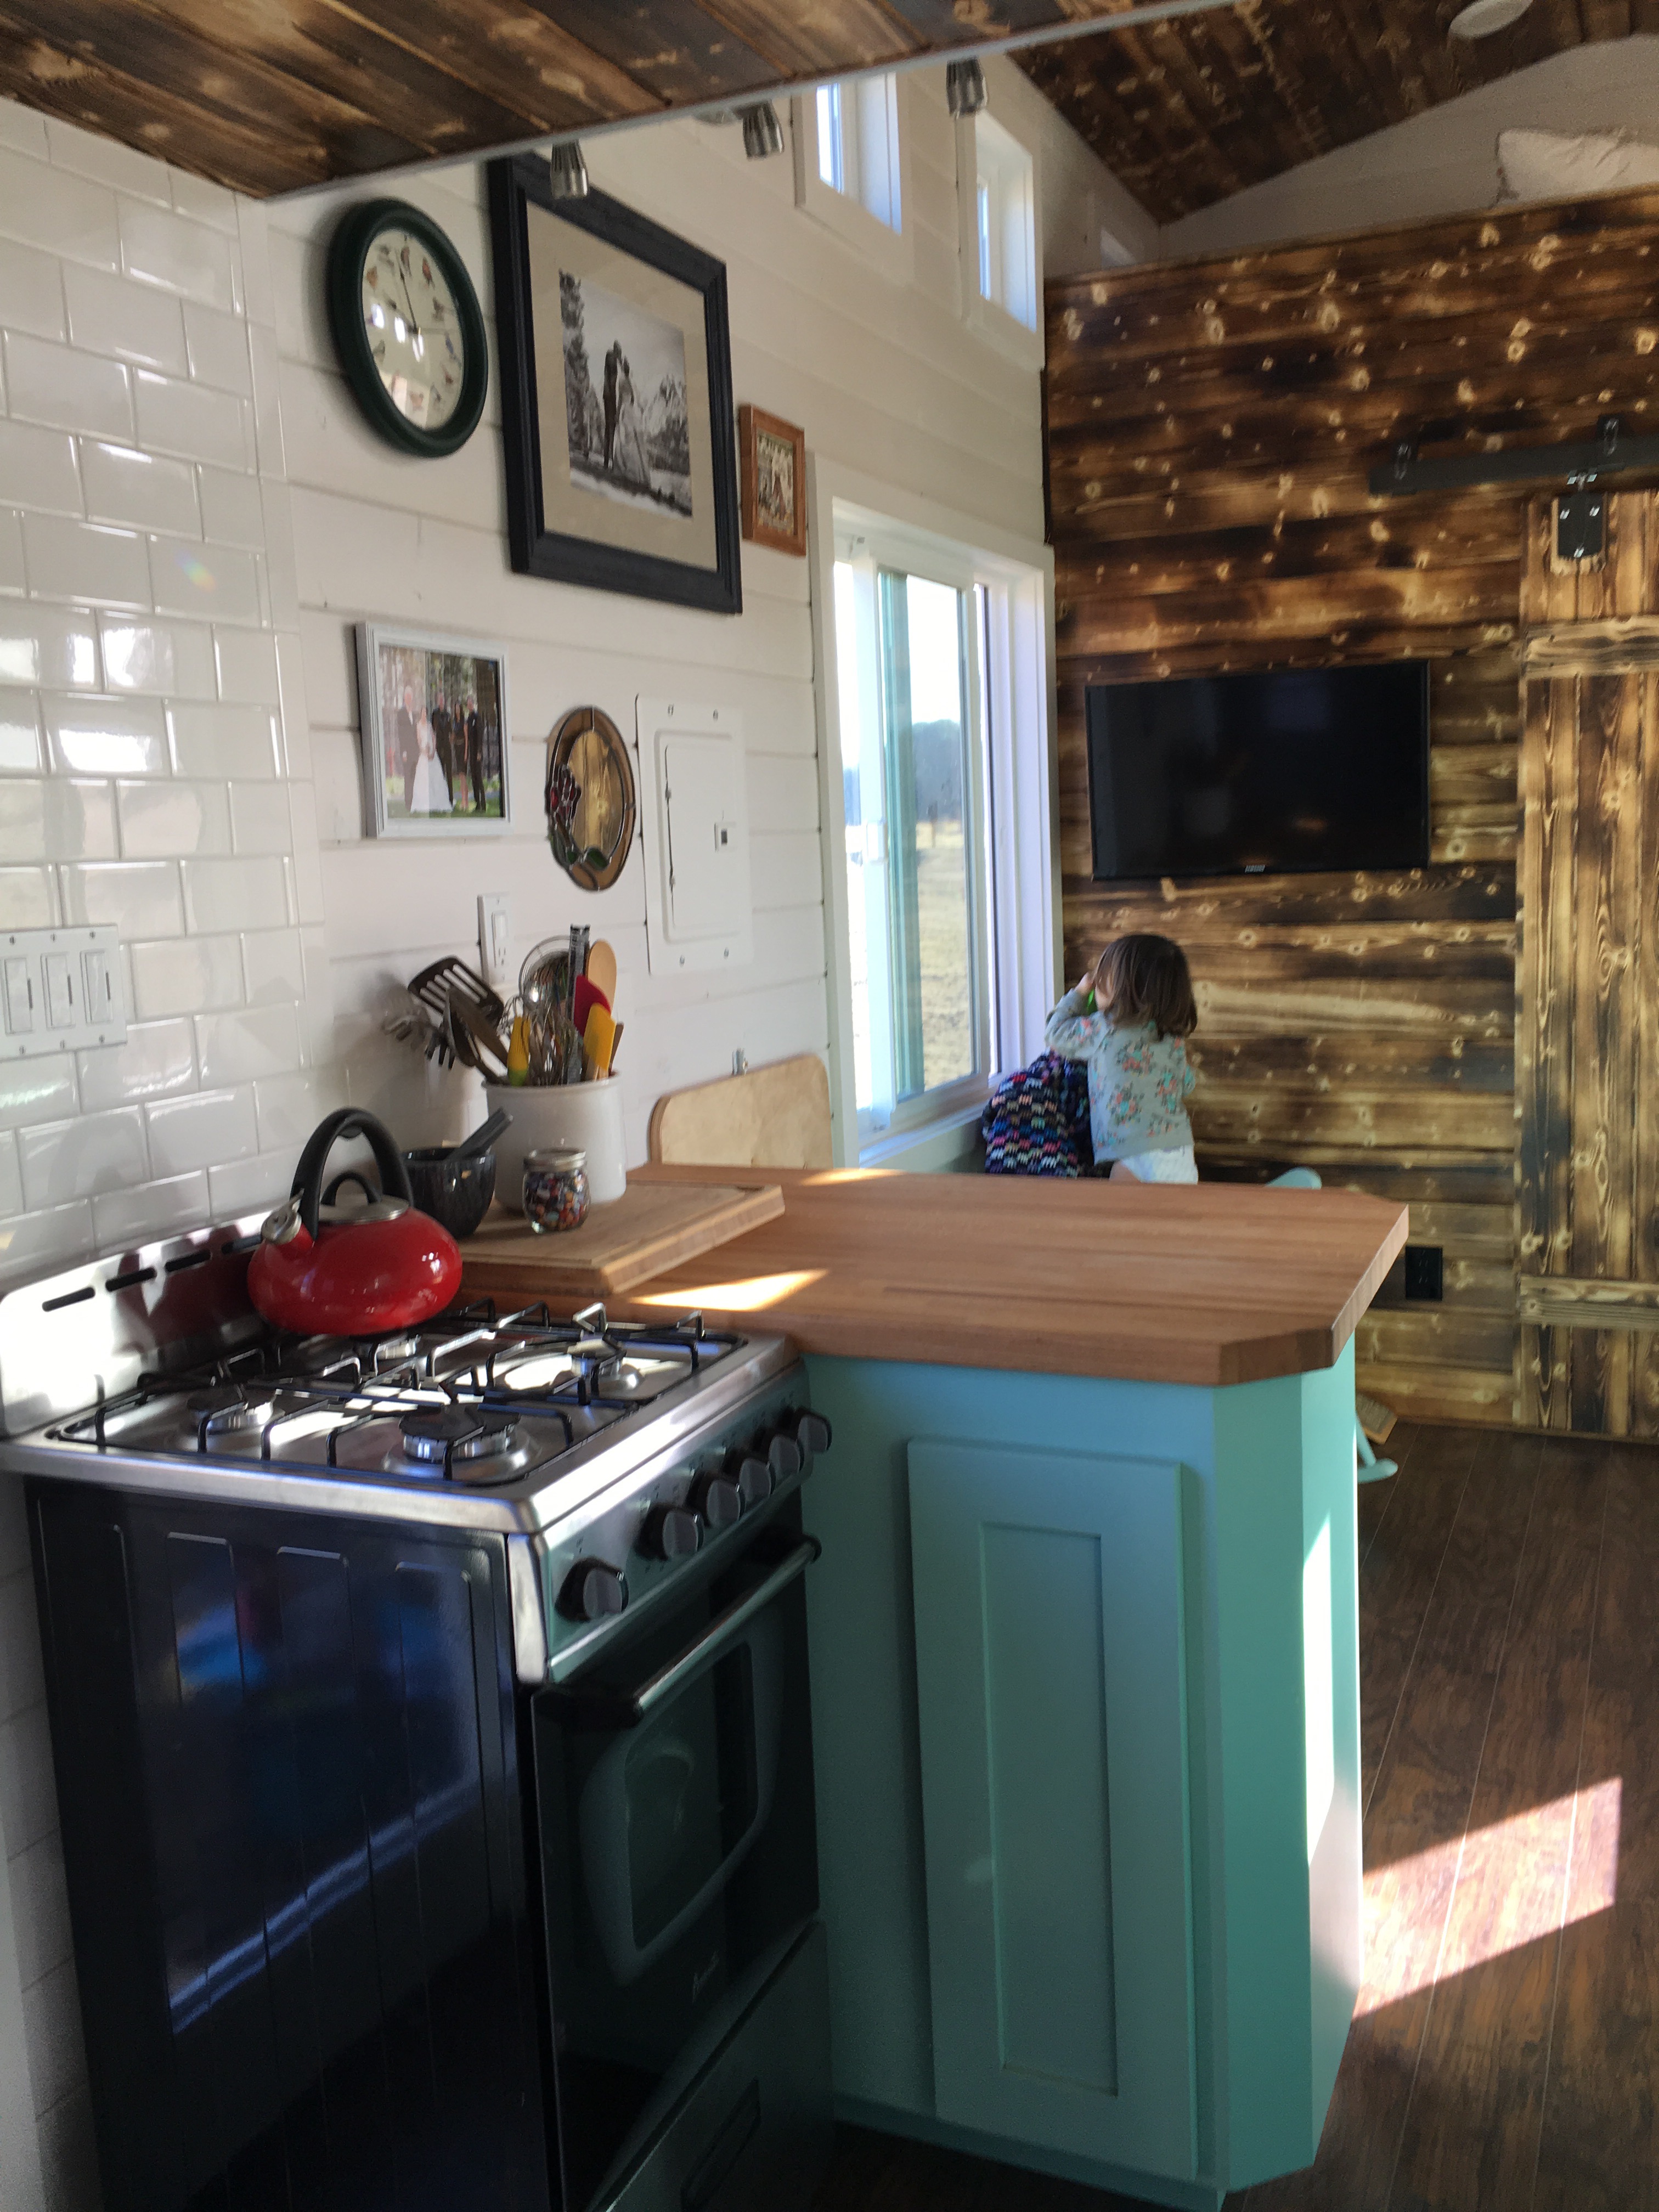
Pretty spacious, huh?

Our bathroom boasts a shower, sink and toilet, with plenty of room for storage. 


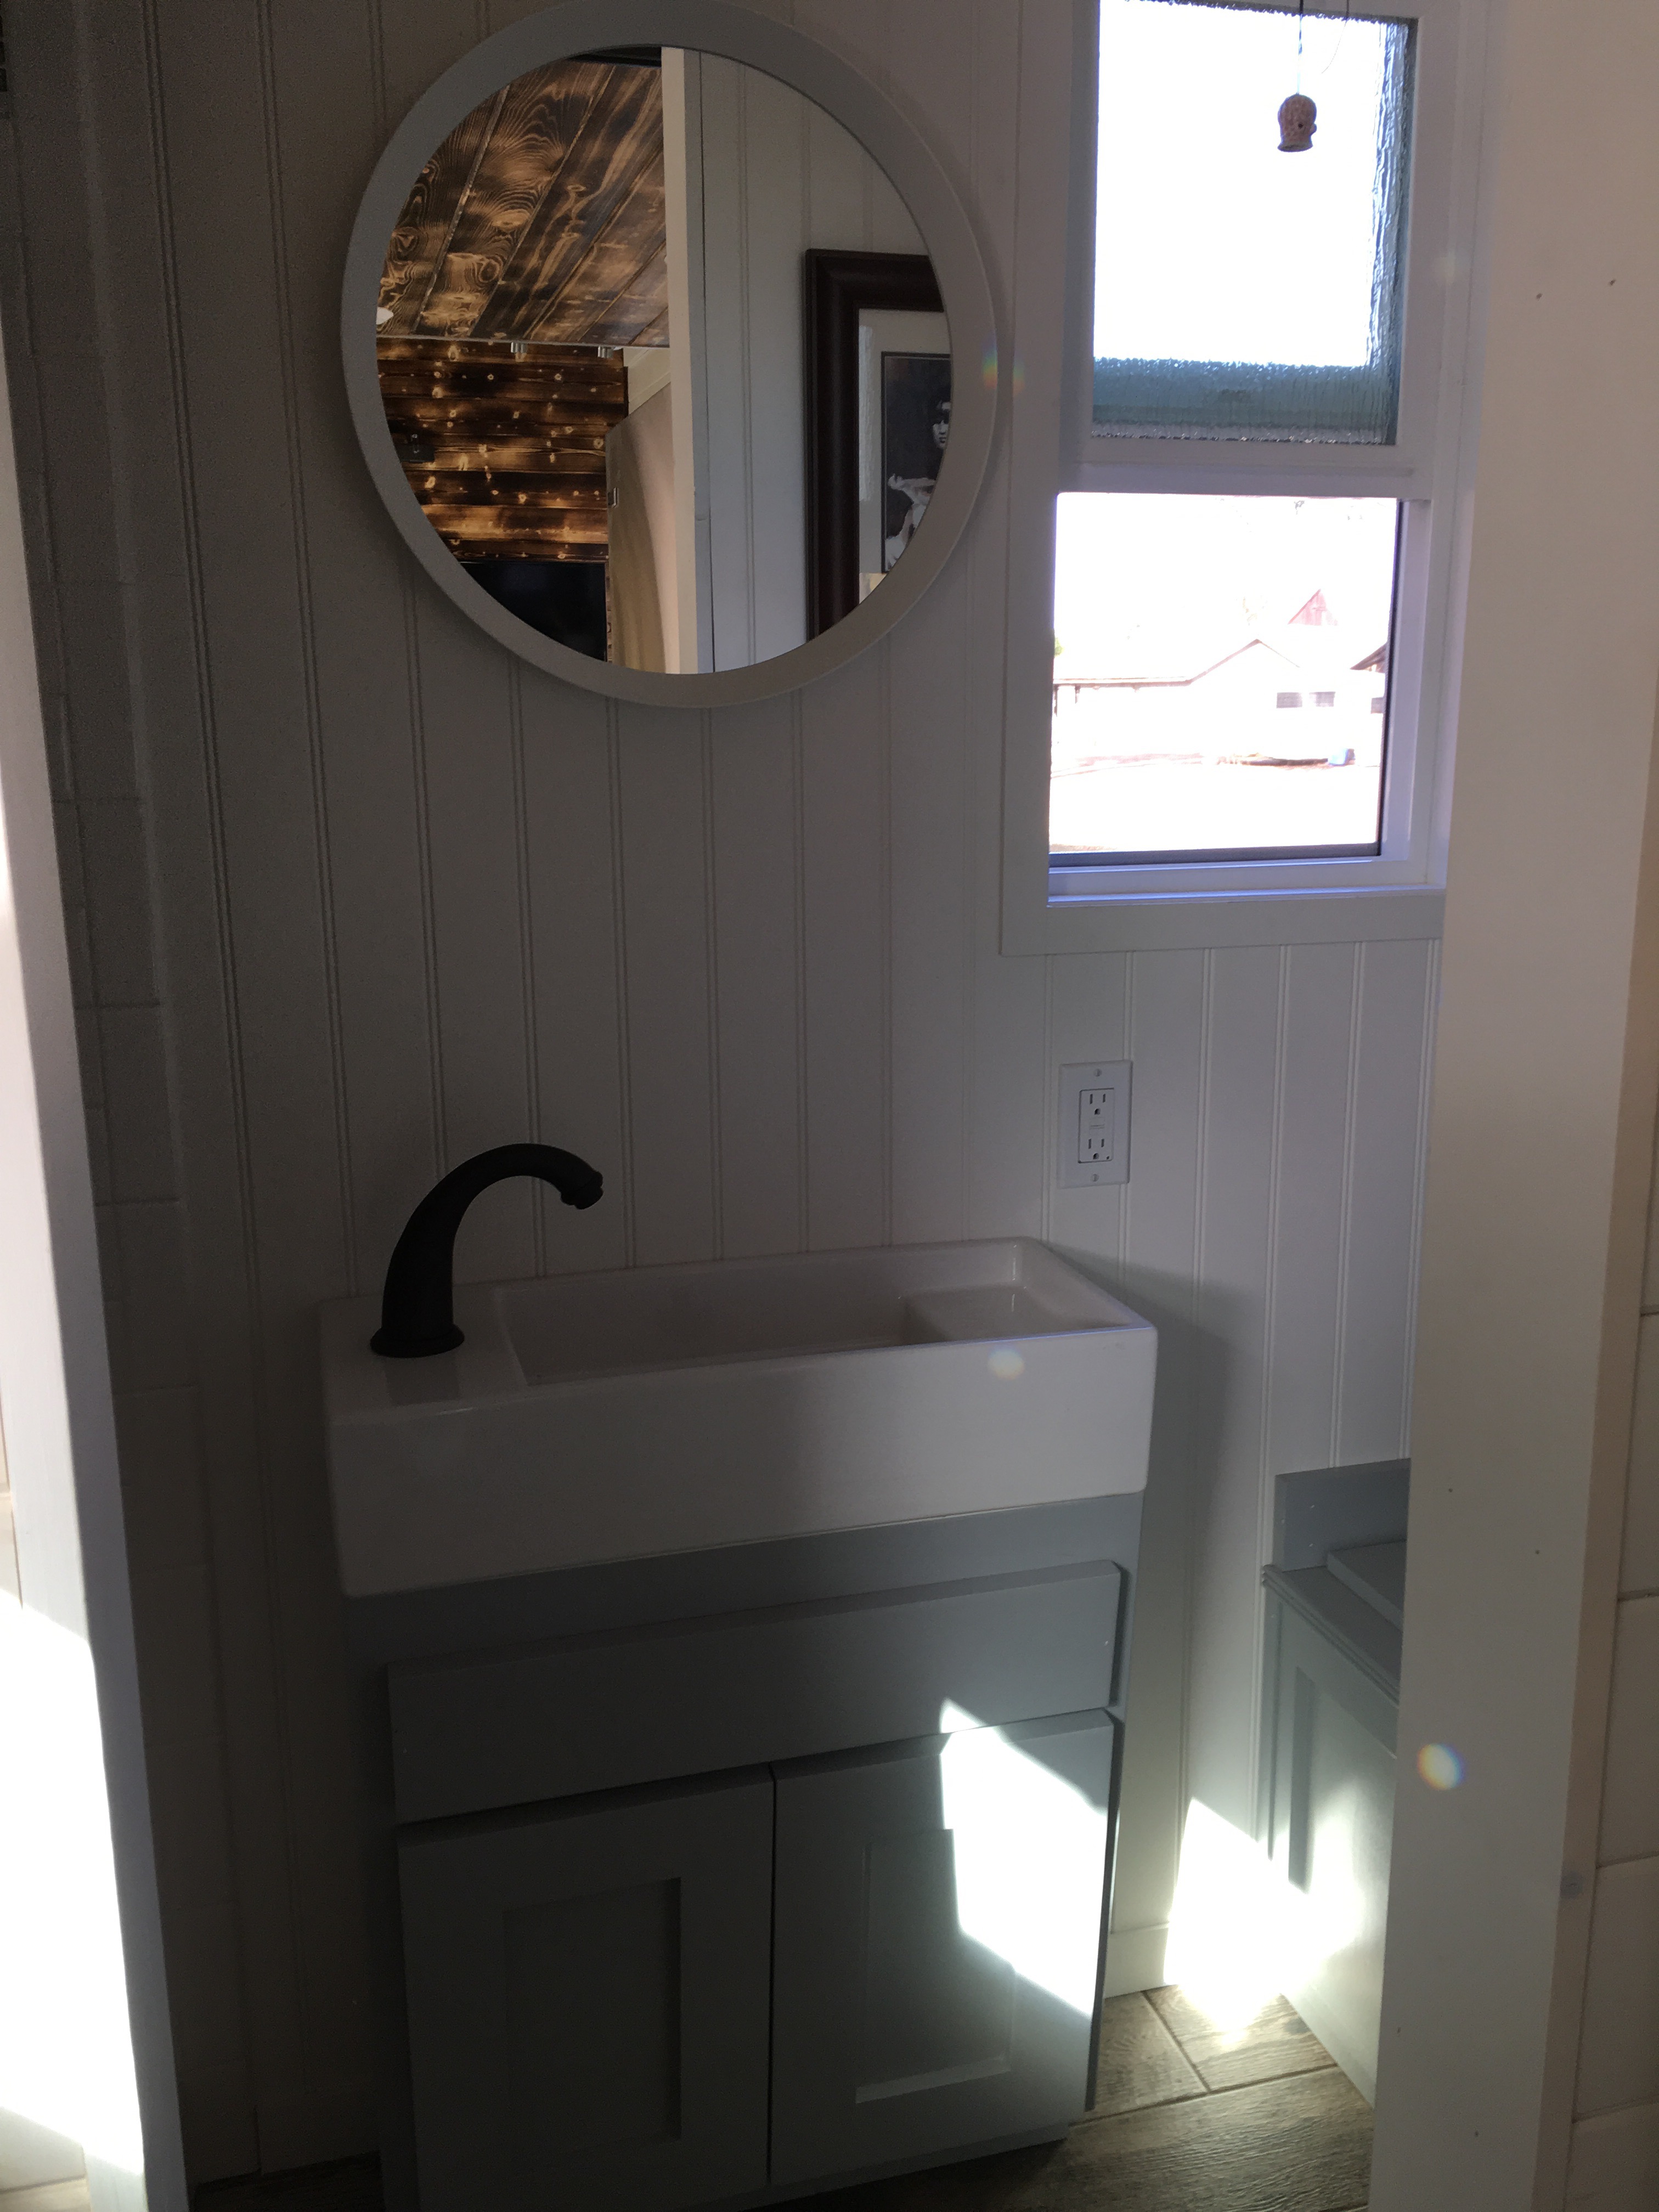
Our toilet cabinet also has a pull out step for little ones.


I’ll be writing about how we use our composting toilet in a future post.
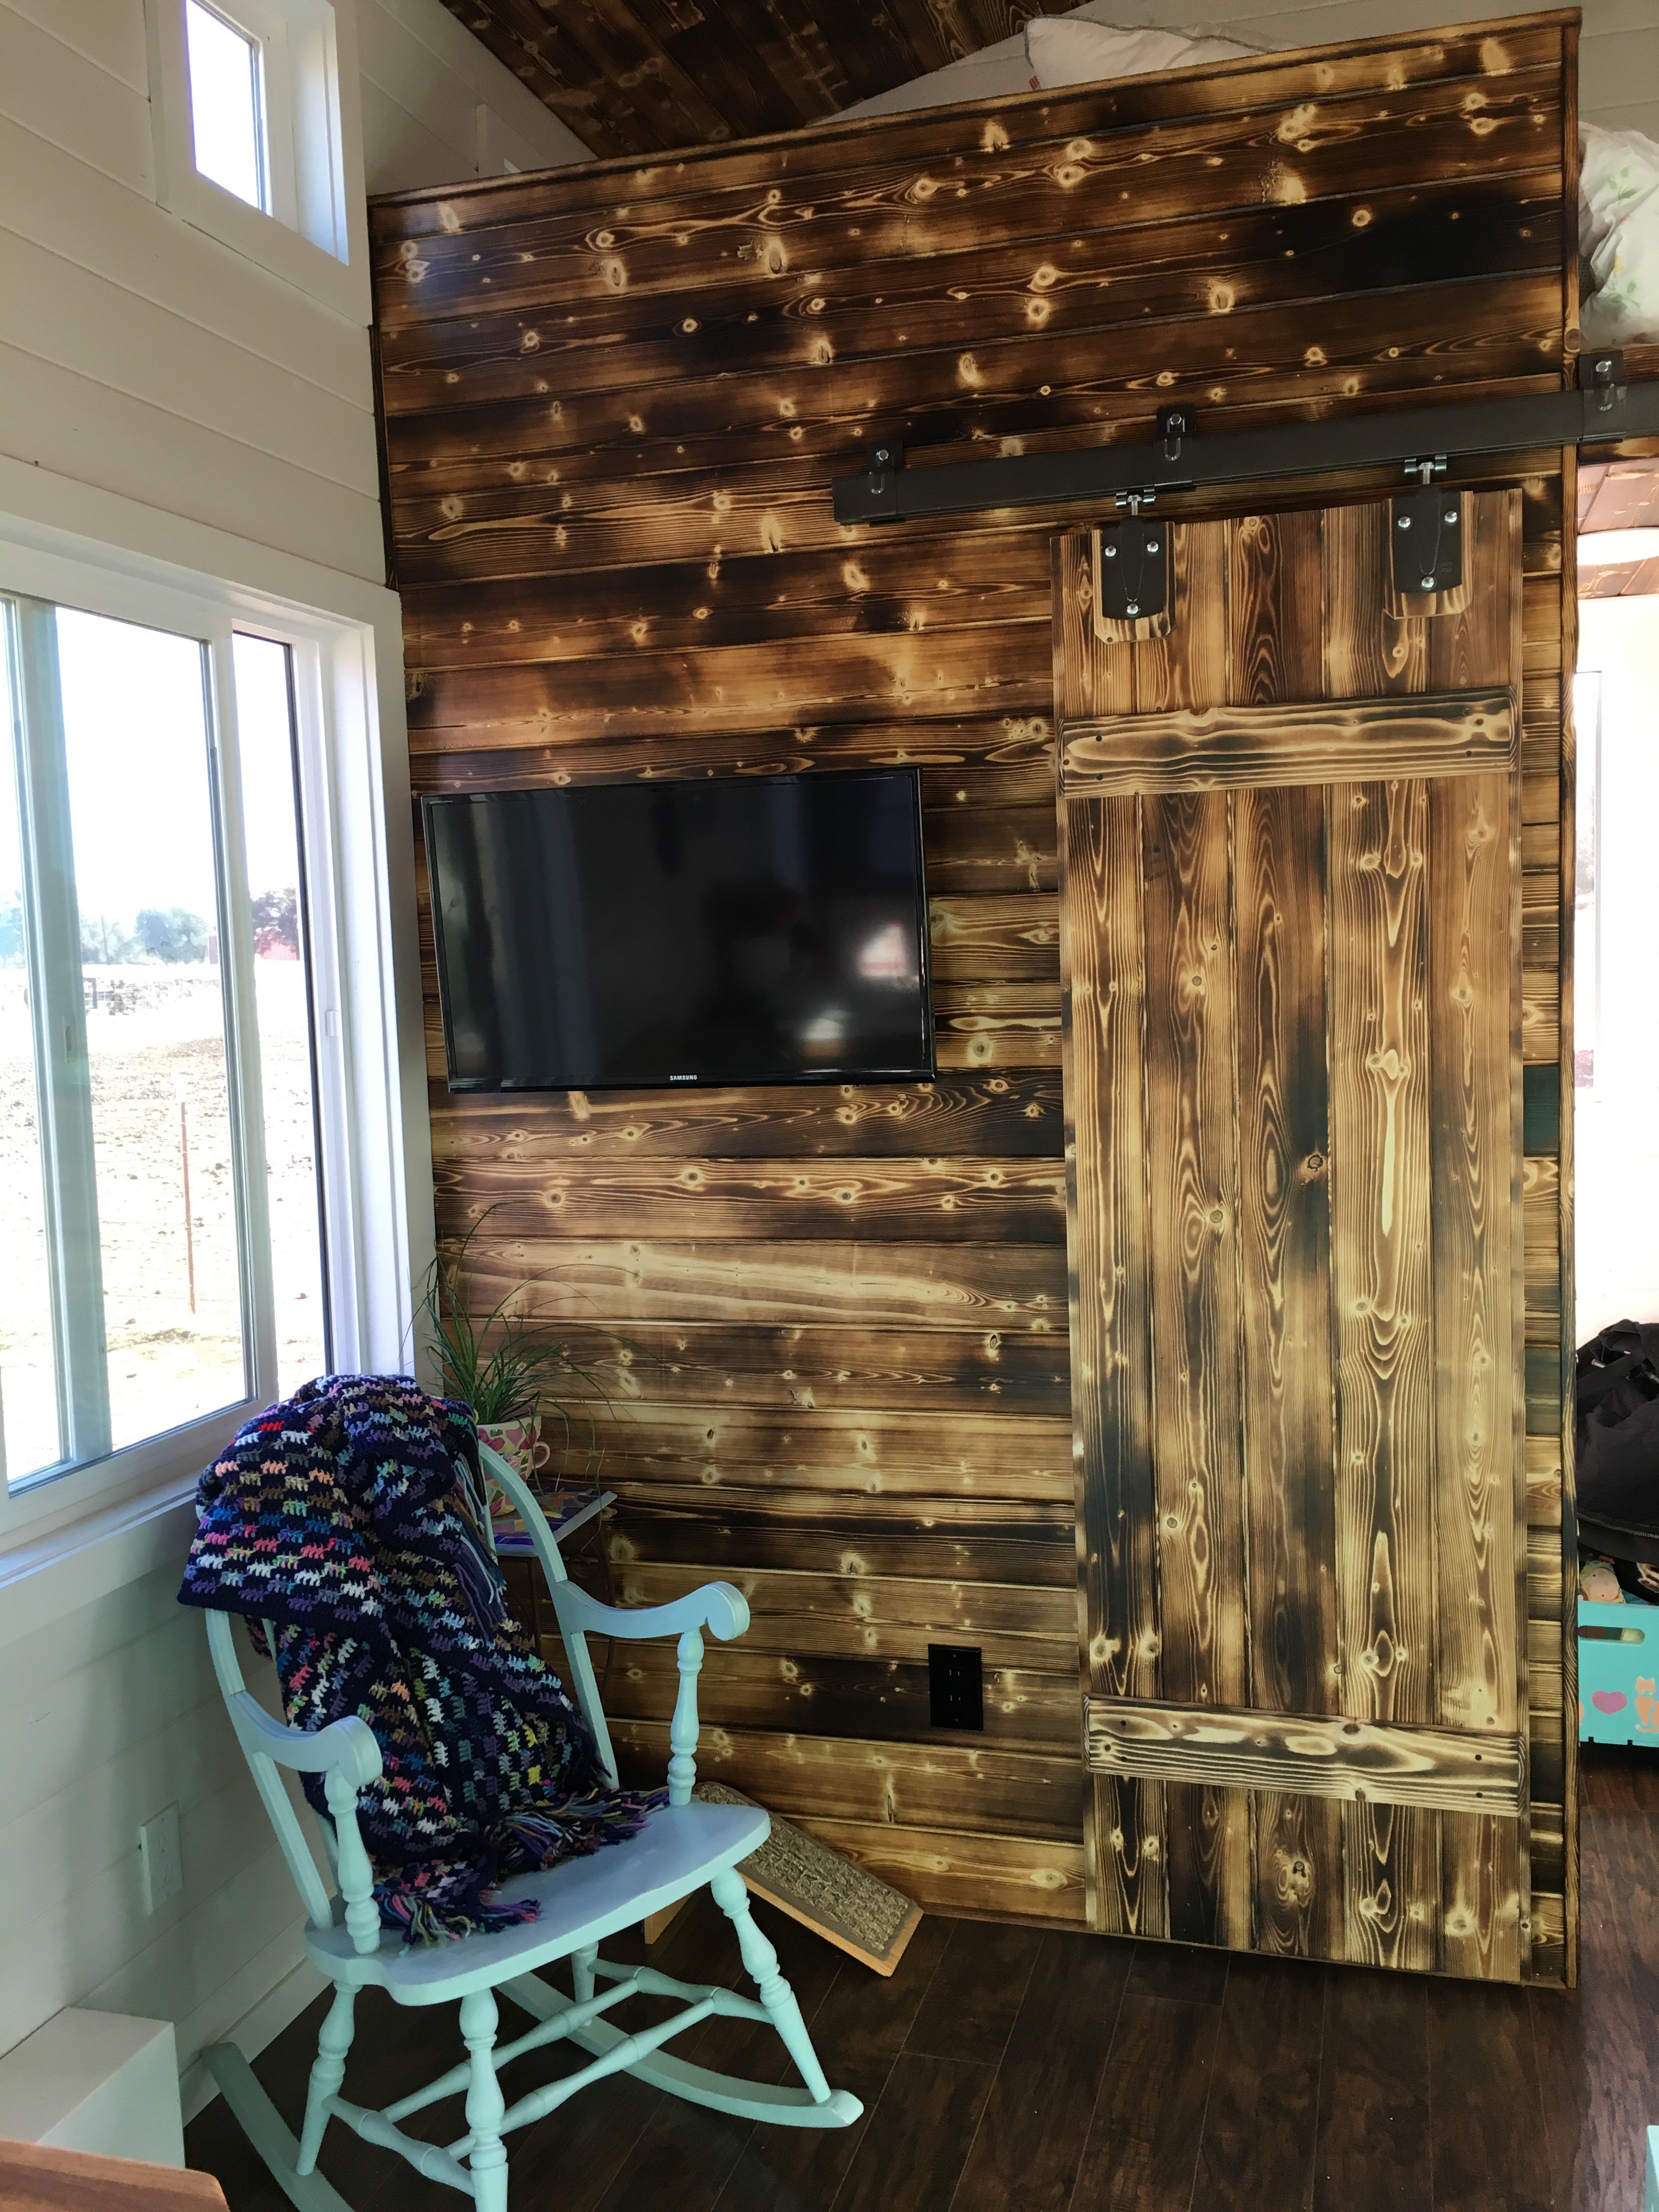

Our living room.


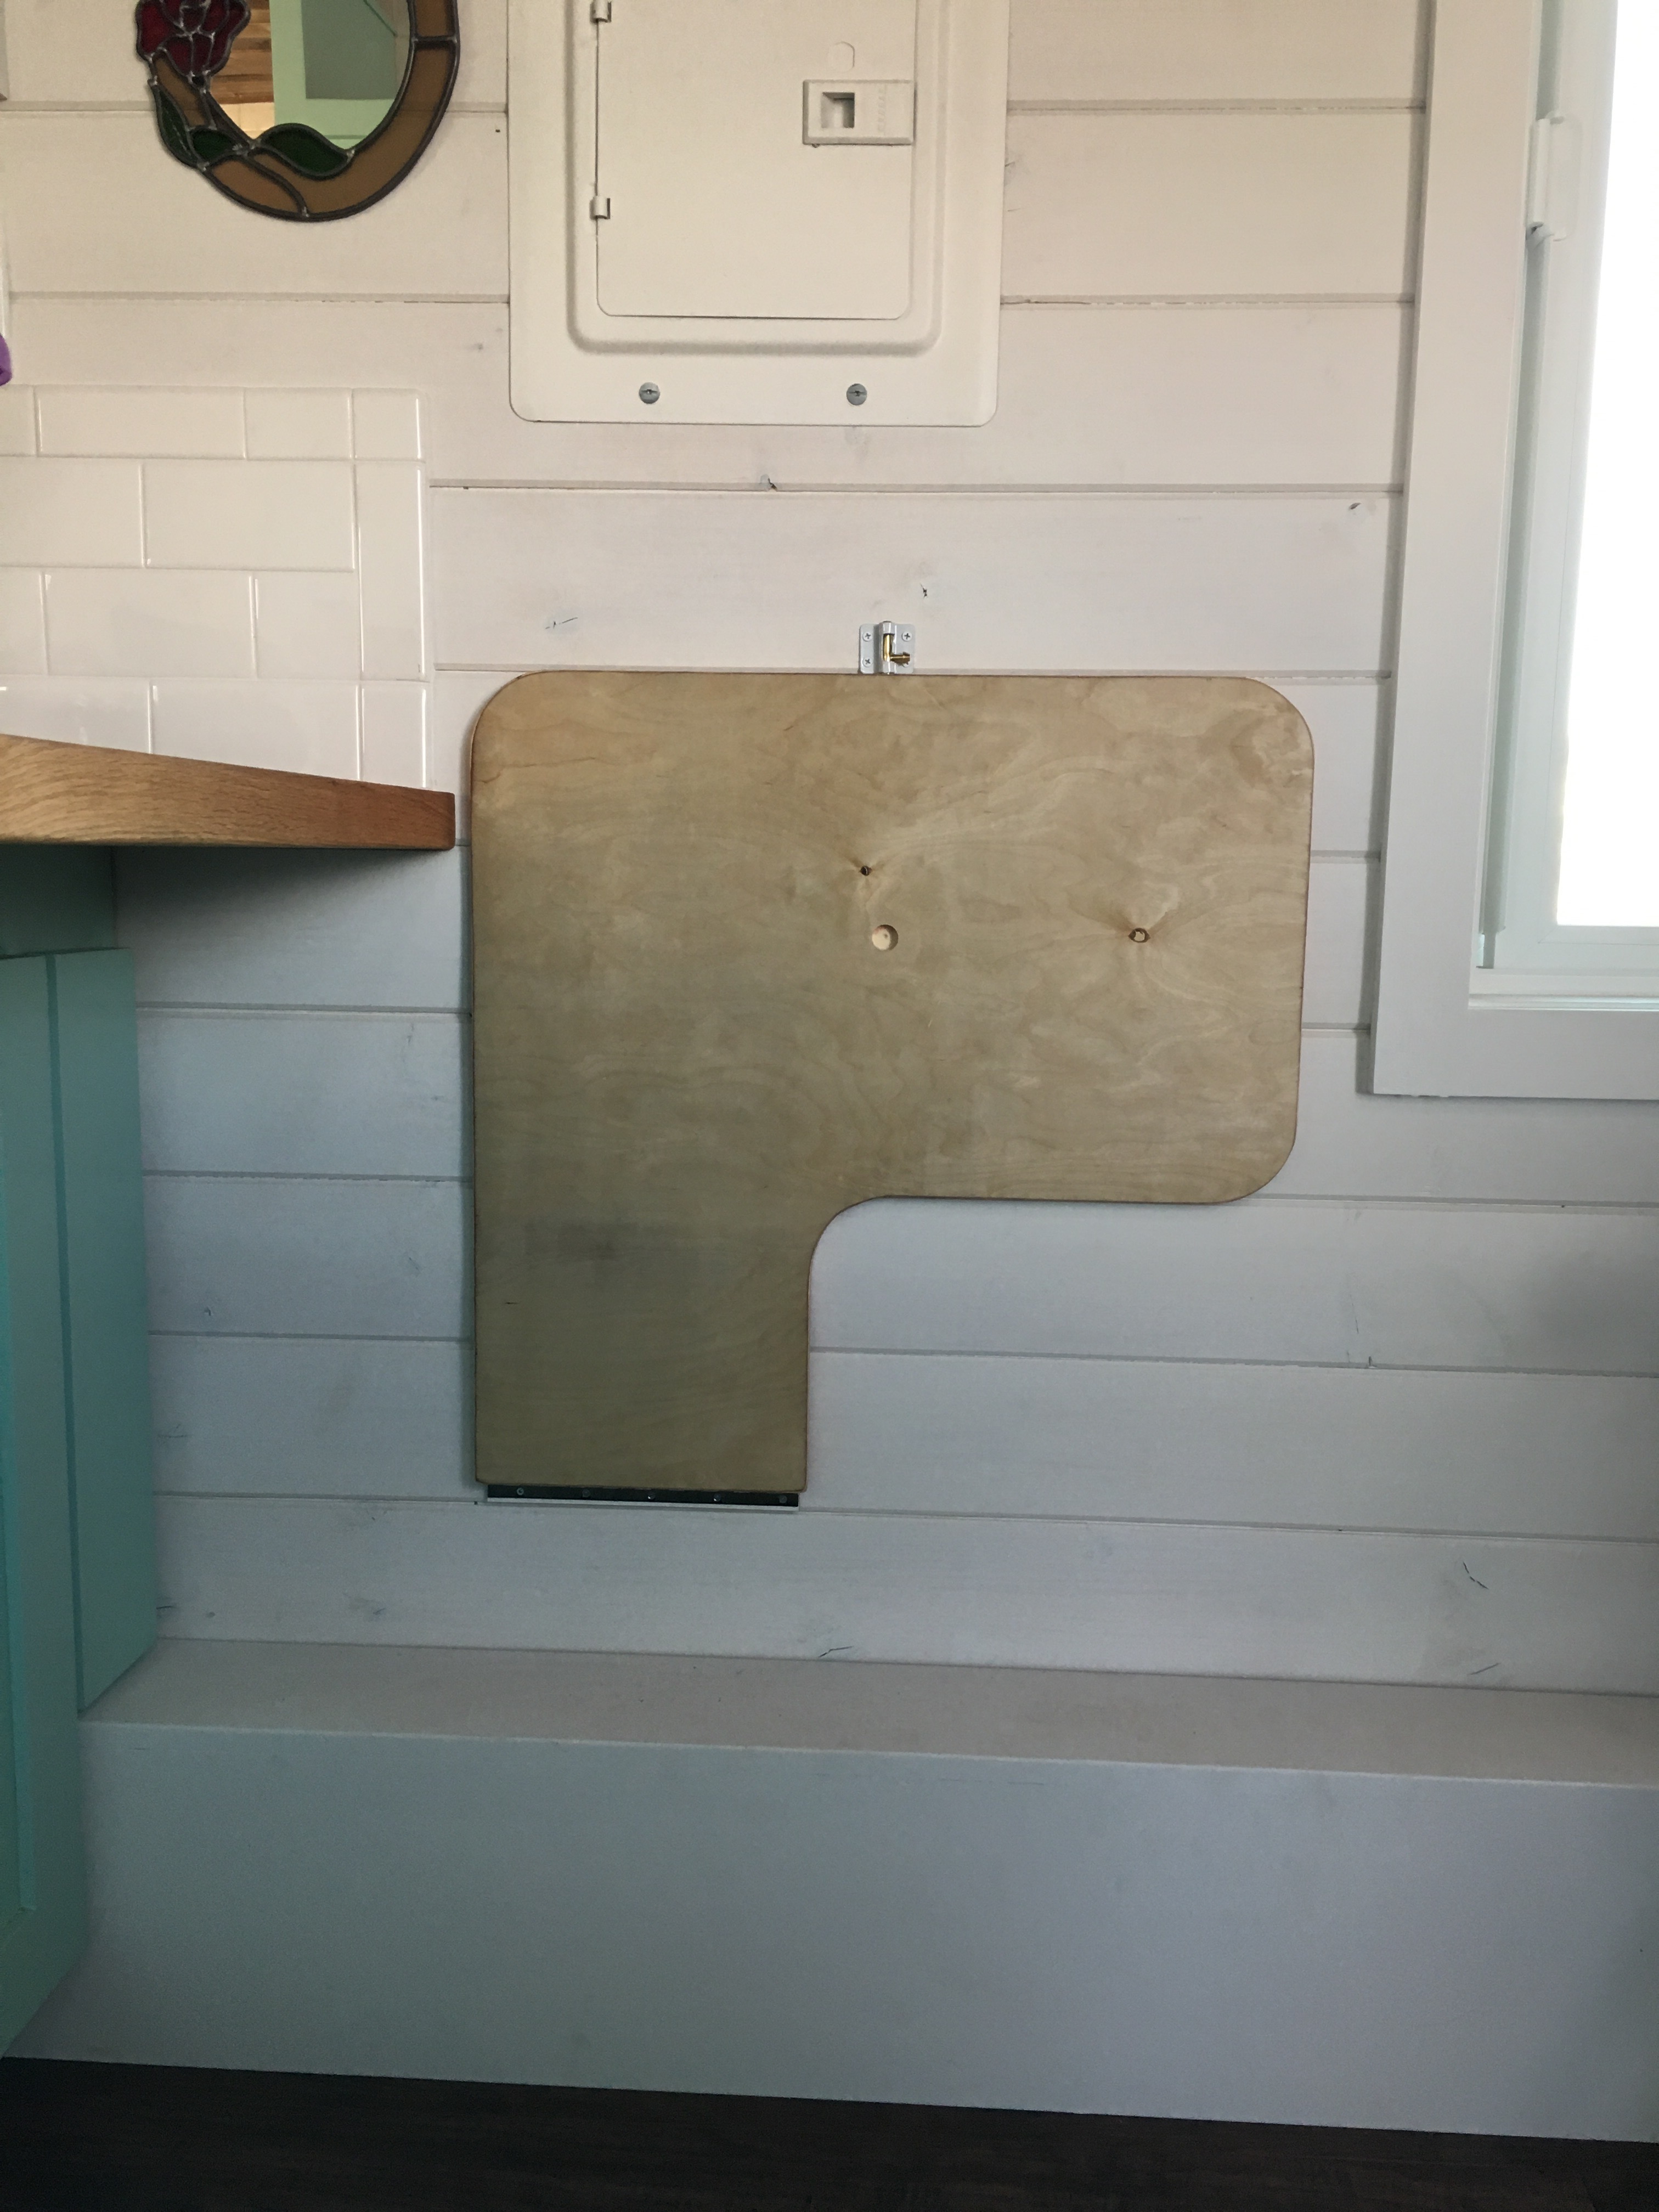
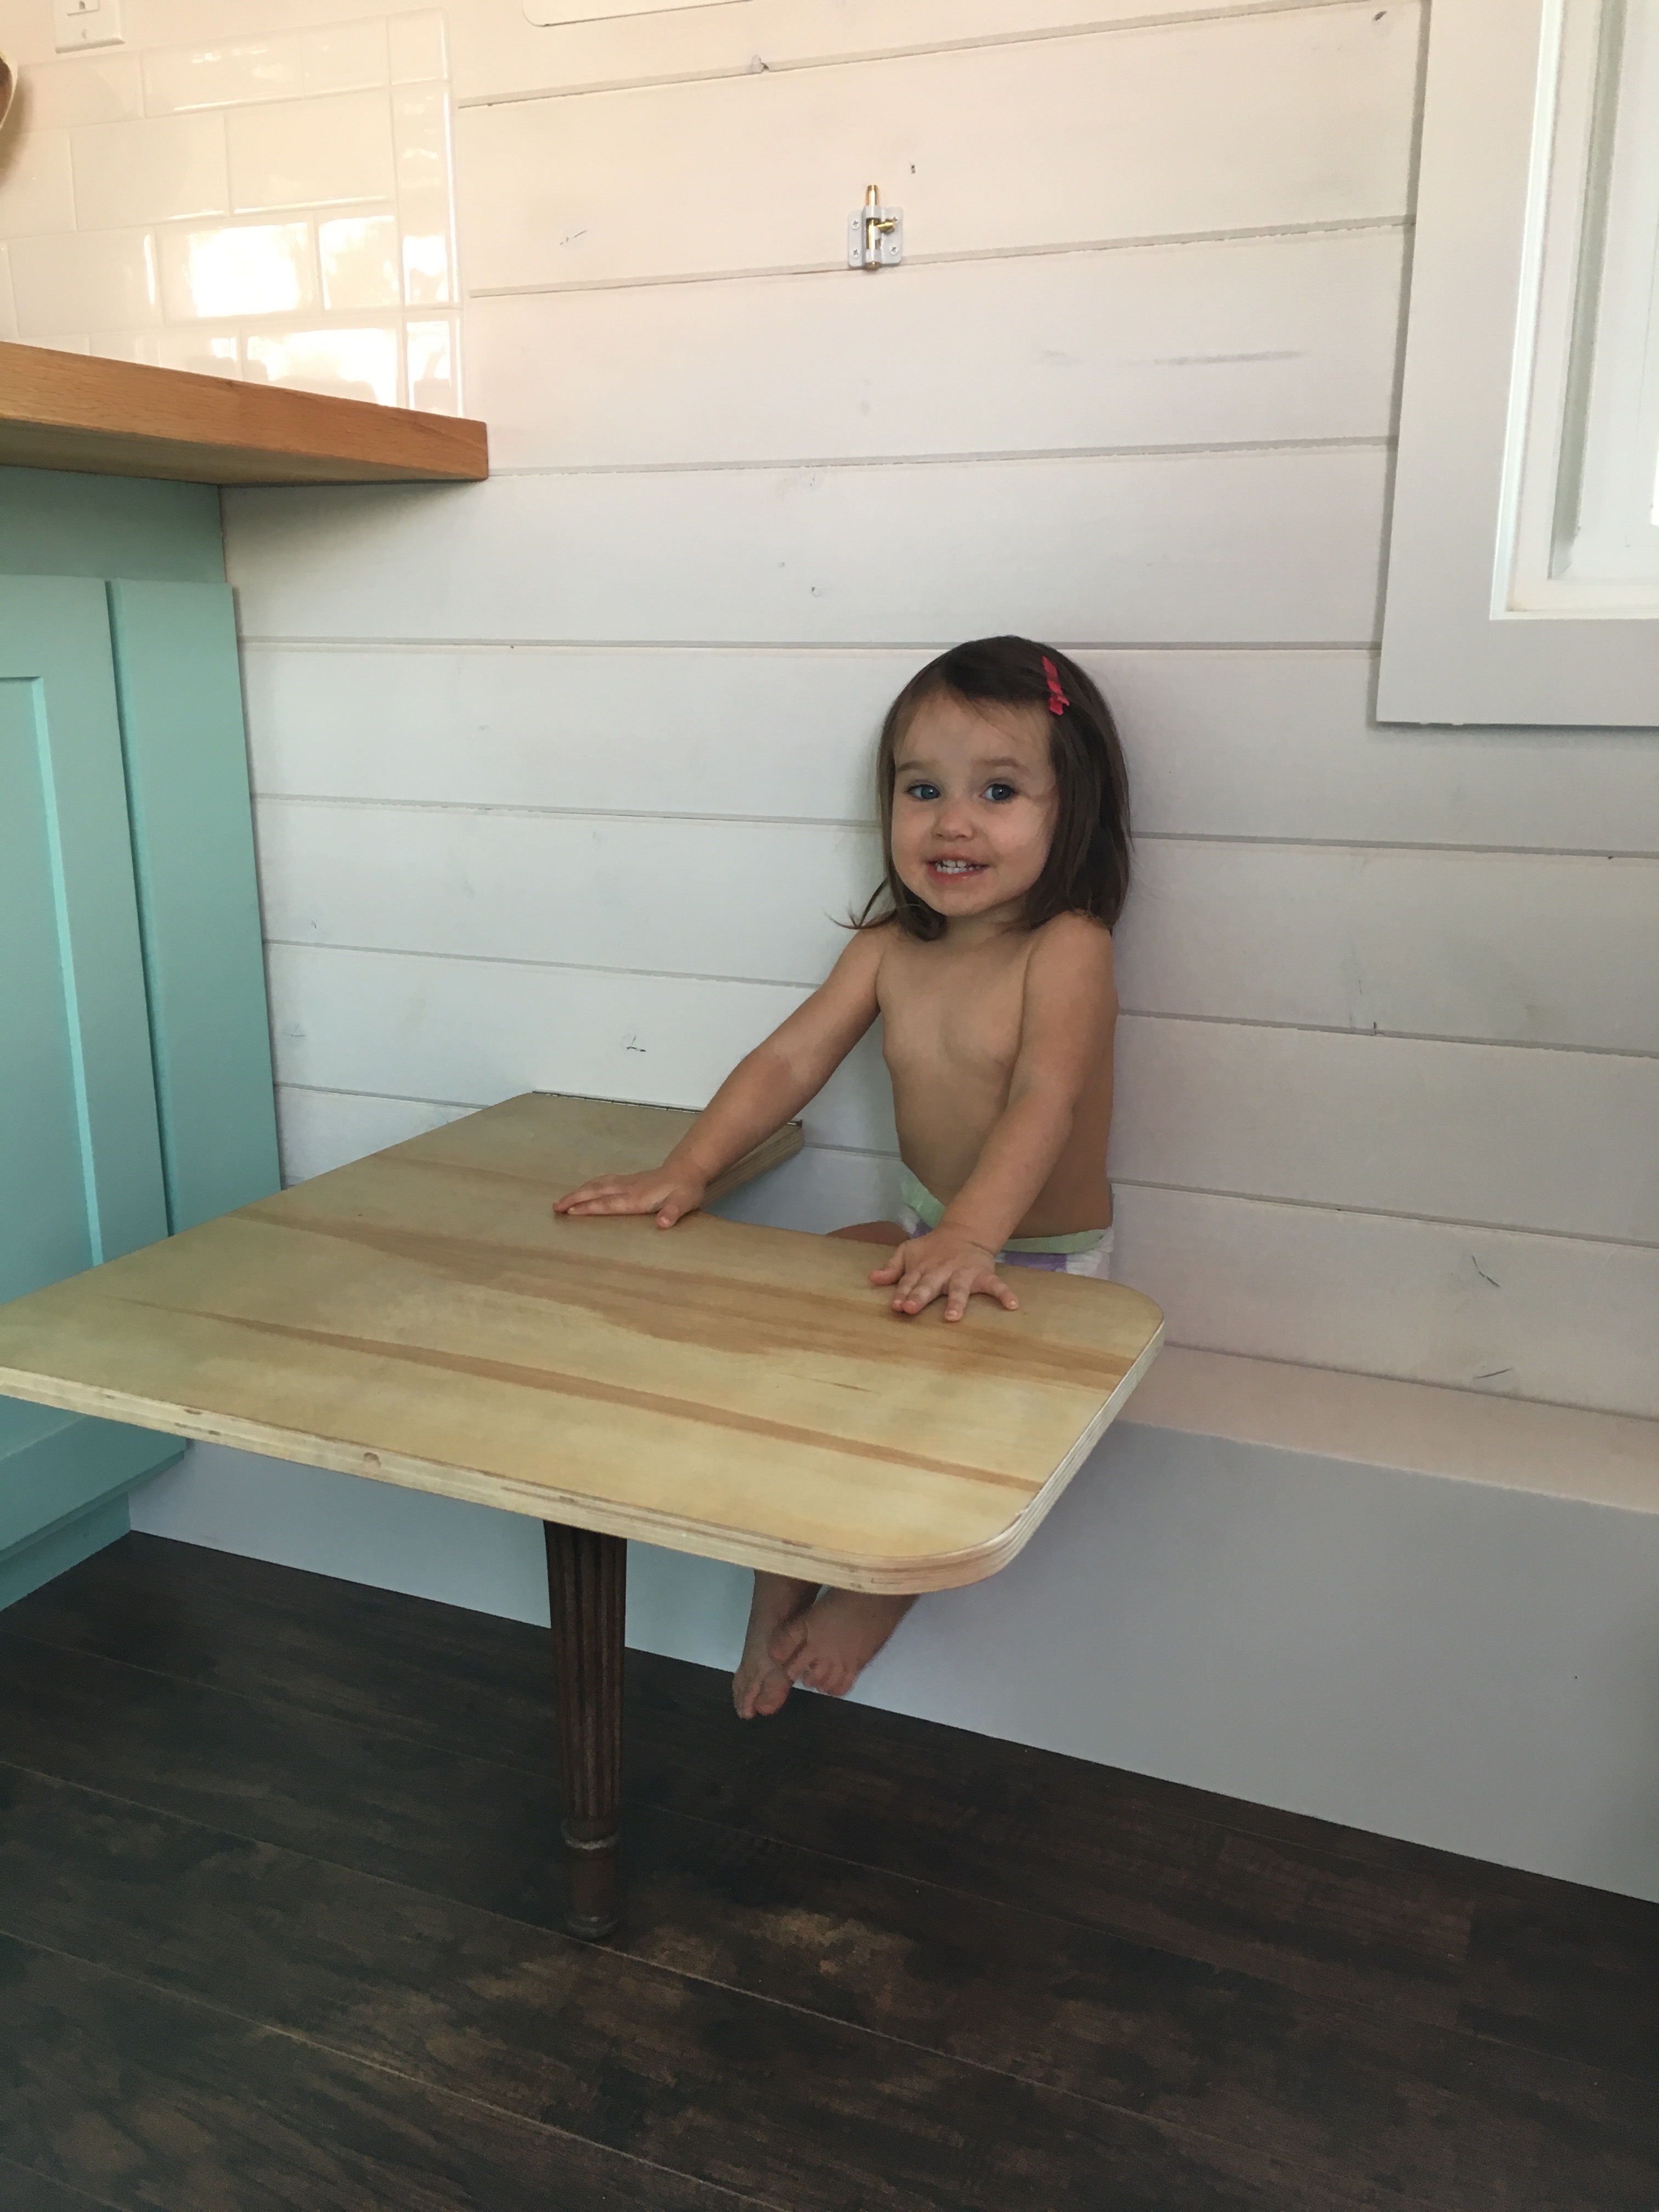
Wren’s handy little fold down desk that utilizes the fender cover as a bench.


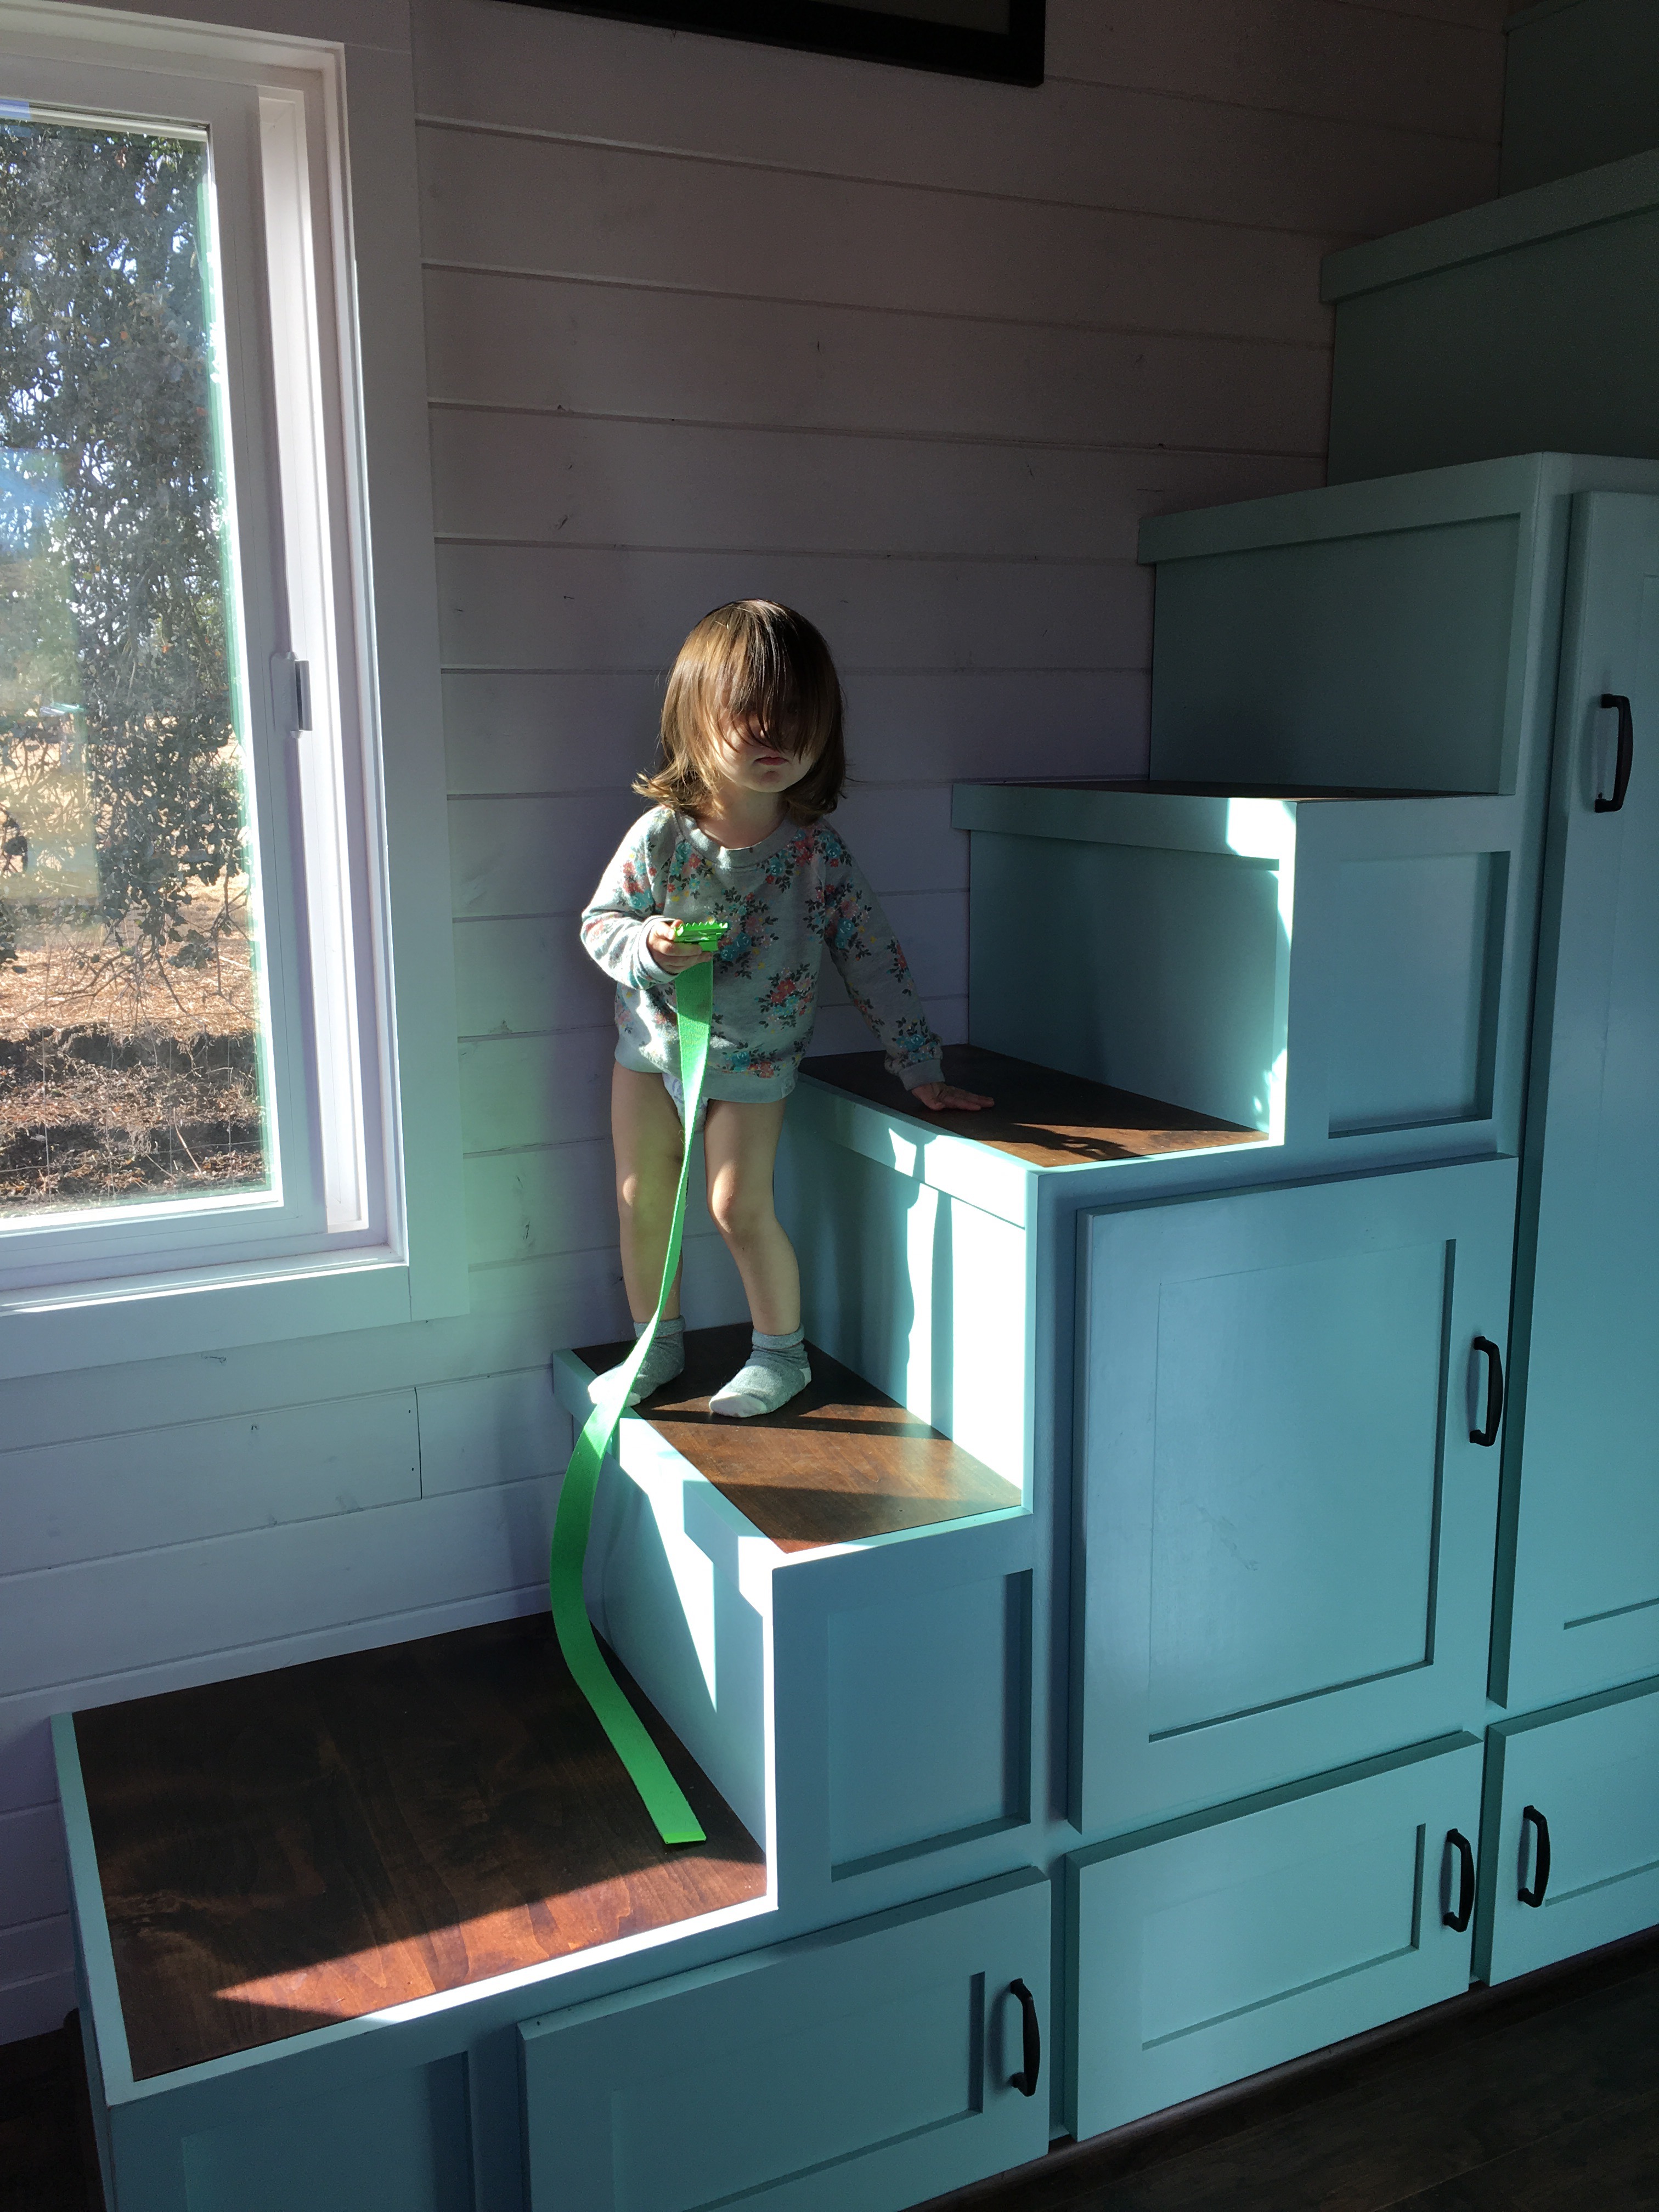
Plenty of storage in our stairs! The bottom step makes a nice seat too. I’ll have to sew a cushion for it soon.


Wren’s room has a custom Murphy bed built by her great grandpa and her daddy.


I sewed her some custom (kitty!) sheets to fit her bed. 


When her bed is up, she has plenty of room to read and play.


On the way upstairs, you can see my bookshelf. 

It was a great way to use some empty space!


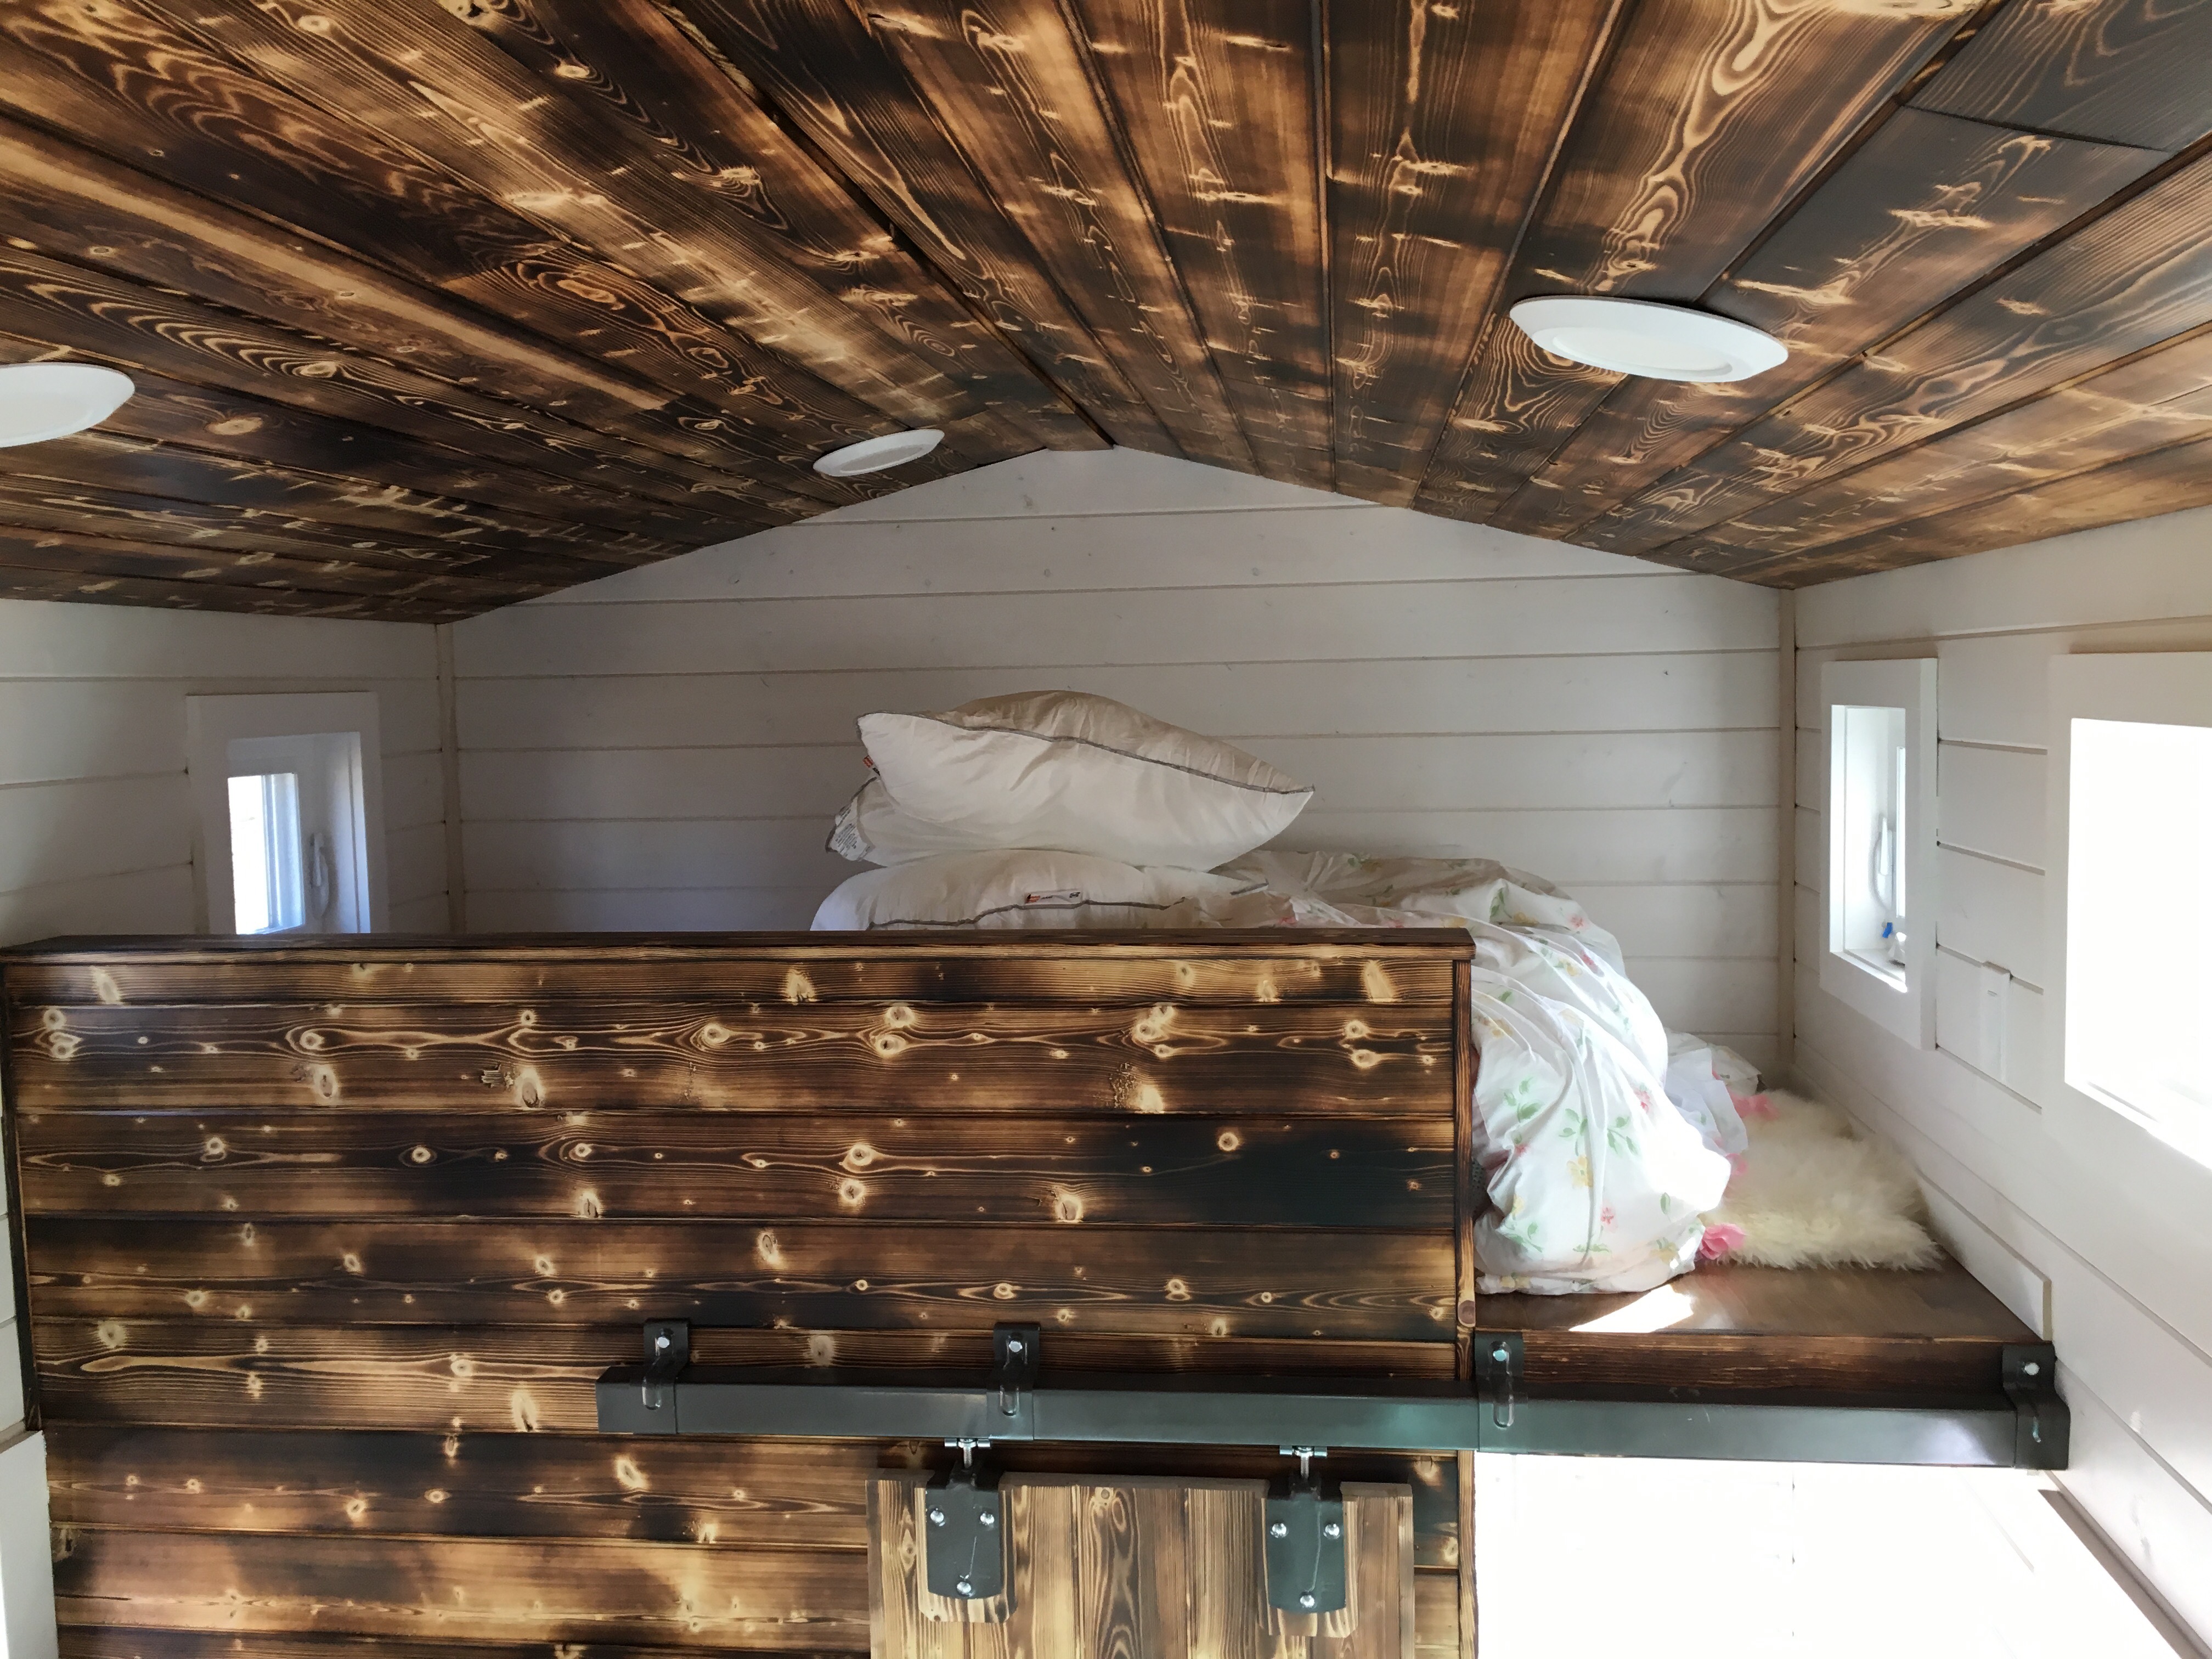
Opposite the master loft and above Wren’s room is our guest loft.


A king size bed fits upstairs! 

Justin also custom made our sconces using mason jars and a metal punch. 


We can also fit Willie’s bed at the foot of ours. 

We need to find some baskets to put our clothes in, otherwise the cats use our clothes as a comfy bed. Can you spot Tikka?

There you go! What do you think? Any questions? 

We still have plumbing for the sinks to run, propane to install for the range and some shelves to install in the kitchen but a huge change since you last saw it!

Stay tuned!

Framing The Tiny House

Saturday morning started bright and early. J’s dad came out both Saturday and Sunday to help frame the tiny house. 


Chalk lines where snapped and windows and door locations were laid out. 

When a toddler supervises the job site, you get a lot of requests for juice refills and summons to play with bubbles. 


Walls are put up. Very carefully. 


Once all the walls are up and secure, the day was just about done and was picked up again on Sunday. 


With the dawn of Sunday comes the rise of the roof.


And the plywood for the roof. 


In the span of 2 days, J and his dad, along with the help of J’s stepdad and brother completed framing the walls, putting in Wren’s bedroom, twin loft and the master loft and framing and sheeting the roof. 

The bathroom will be framed this week because we ran out of material. 


This upcoming week brings siding and windows being installed. Stay tuned!

-C

Flashing, Insulation & Subfloor

We’ve been extremely busy this past week. After we brought the trailer home, we picked up the flashing needed for underneath the trailer and the rigid foam insulation for the floor. 


We chose 16 gauge galvanized steel for the flashing for its sturdiness and inability to rust. There’s no way anything will makes its way through the bottom!

The downside of such sturdy metal means that it was extremely heavy and difficult to install. 


Jacks were needed. It definitely wasn’t a one man kind of job.


Add 100+ degree weather to the mix and that makes for a most unpleasant task. I’m surprised J didn’t come out with a permanent sunburn.

After the flashing was installed, the insulation was cut to size and put in. 

In the four corners of the trailer, J also welded metal plate. Once the frame is put up, he will be adding HD (heavy duty) tiedowns to the four corners to help hold the corners of the tiny house down to the frame.

A bonus to the open bottomed corners means that we can also have access to work on the trailer brake lights if need be. 

A few days after, our lumber was ready for pick up. 


Our first pickup was enough for the subfloor and framing. In a couple weeks, we’ll pick up the lumber for the siding.

Unloading the lumber from the trailer. 

The plywood subfloor was cut to size but before being laid down, all the top metal was cleaned, glue was applied and then the subfloor was put on. 


Next comes screws, lots and lots of screws. 


W helping daddy.


The gap on the right side of the trailer will be filled in once the framing is started.

Until next time.

-C