This last week has been full of exterior tiny house projects, but as we are only half way done with the exterior, I decided to split the blog post in two and show you our papering/window installing/sheeting extravaganza.
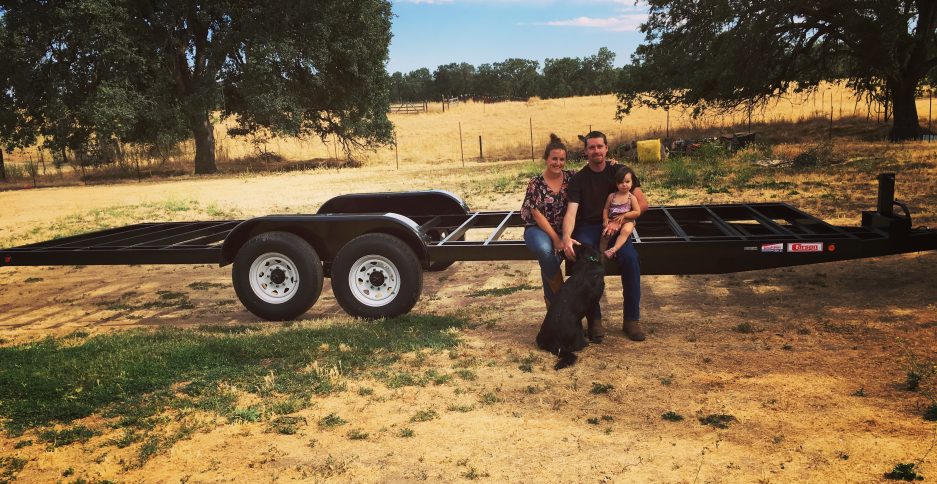
We left off with the tiny house being completely framed and roofed (minus the bathroom).

Sometimes you need a little extra weight to get the job done.
The first thing J did when we picked up the materials for the siding was complete the bathroom wall.
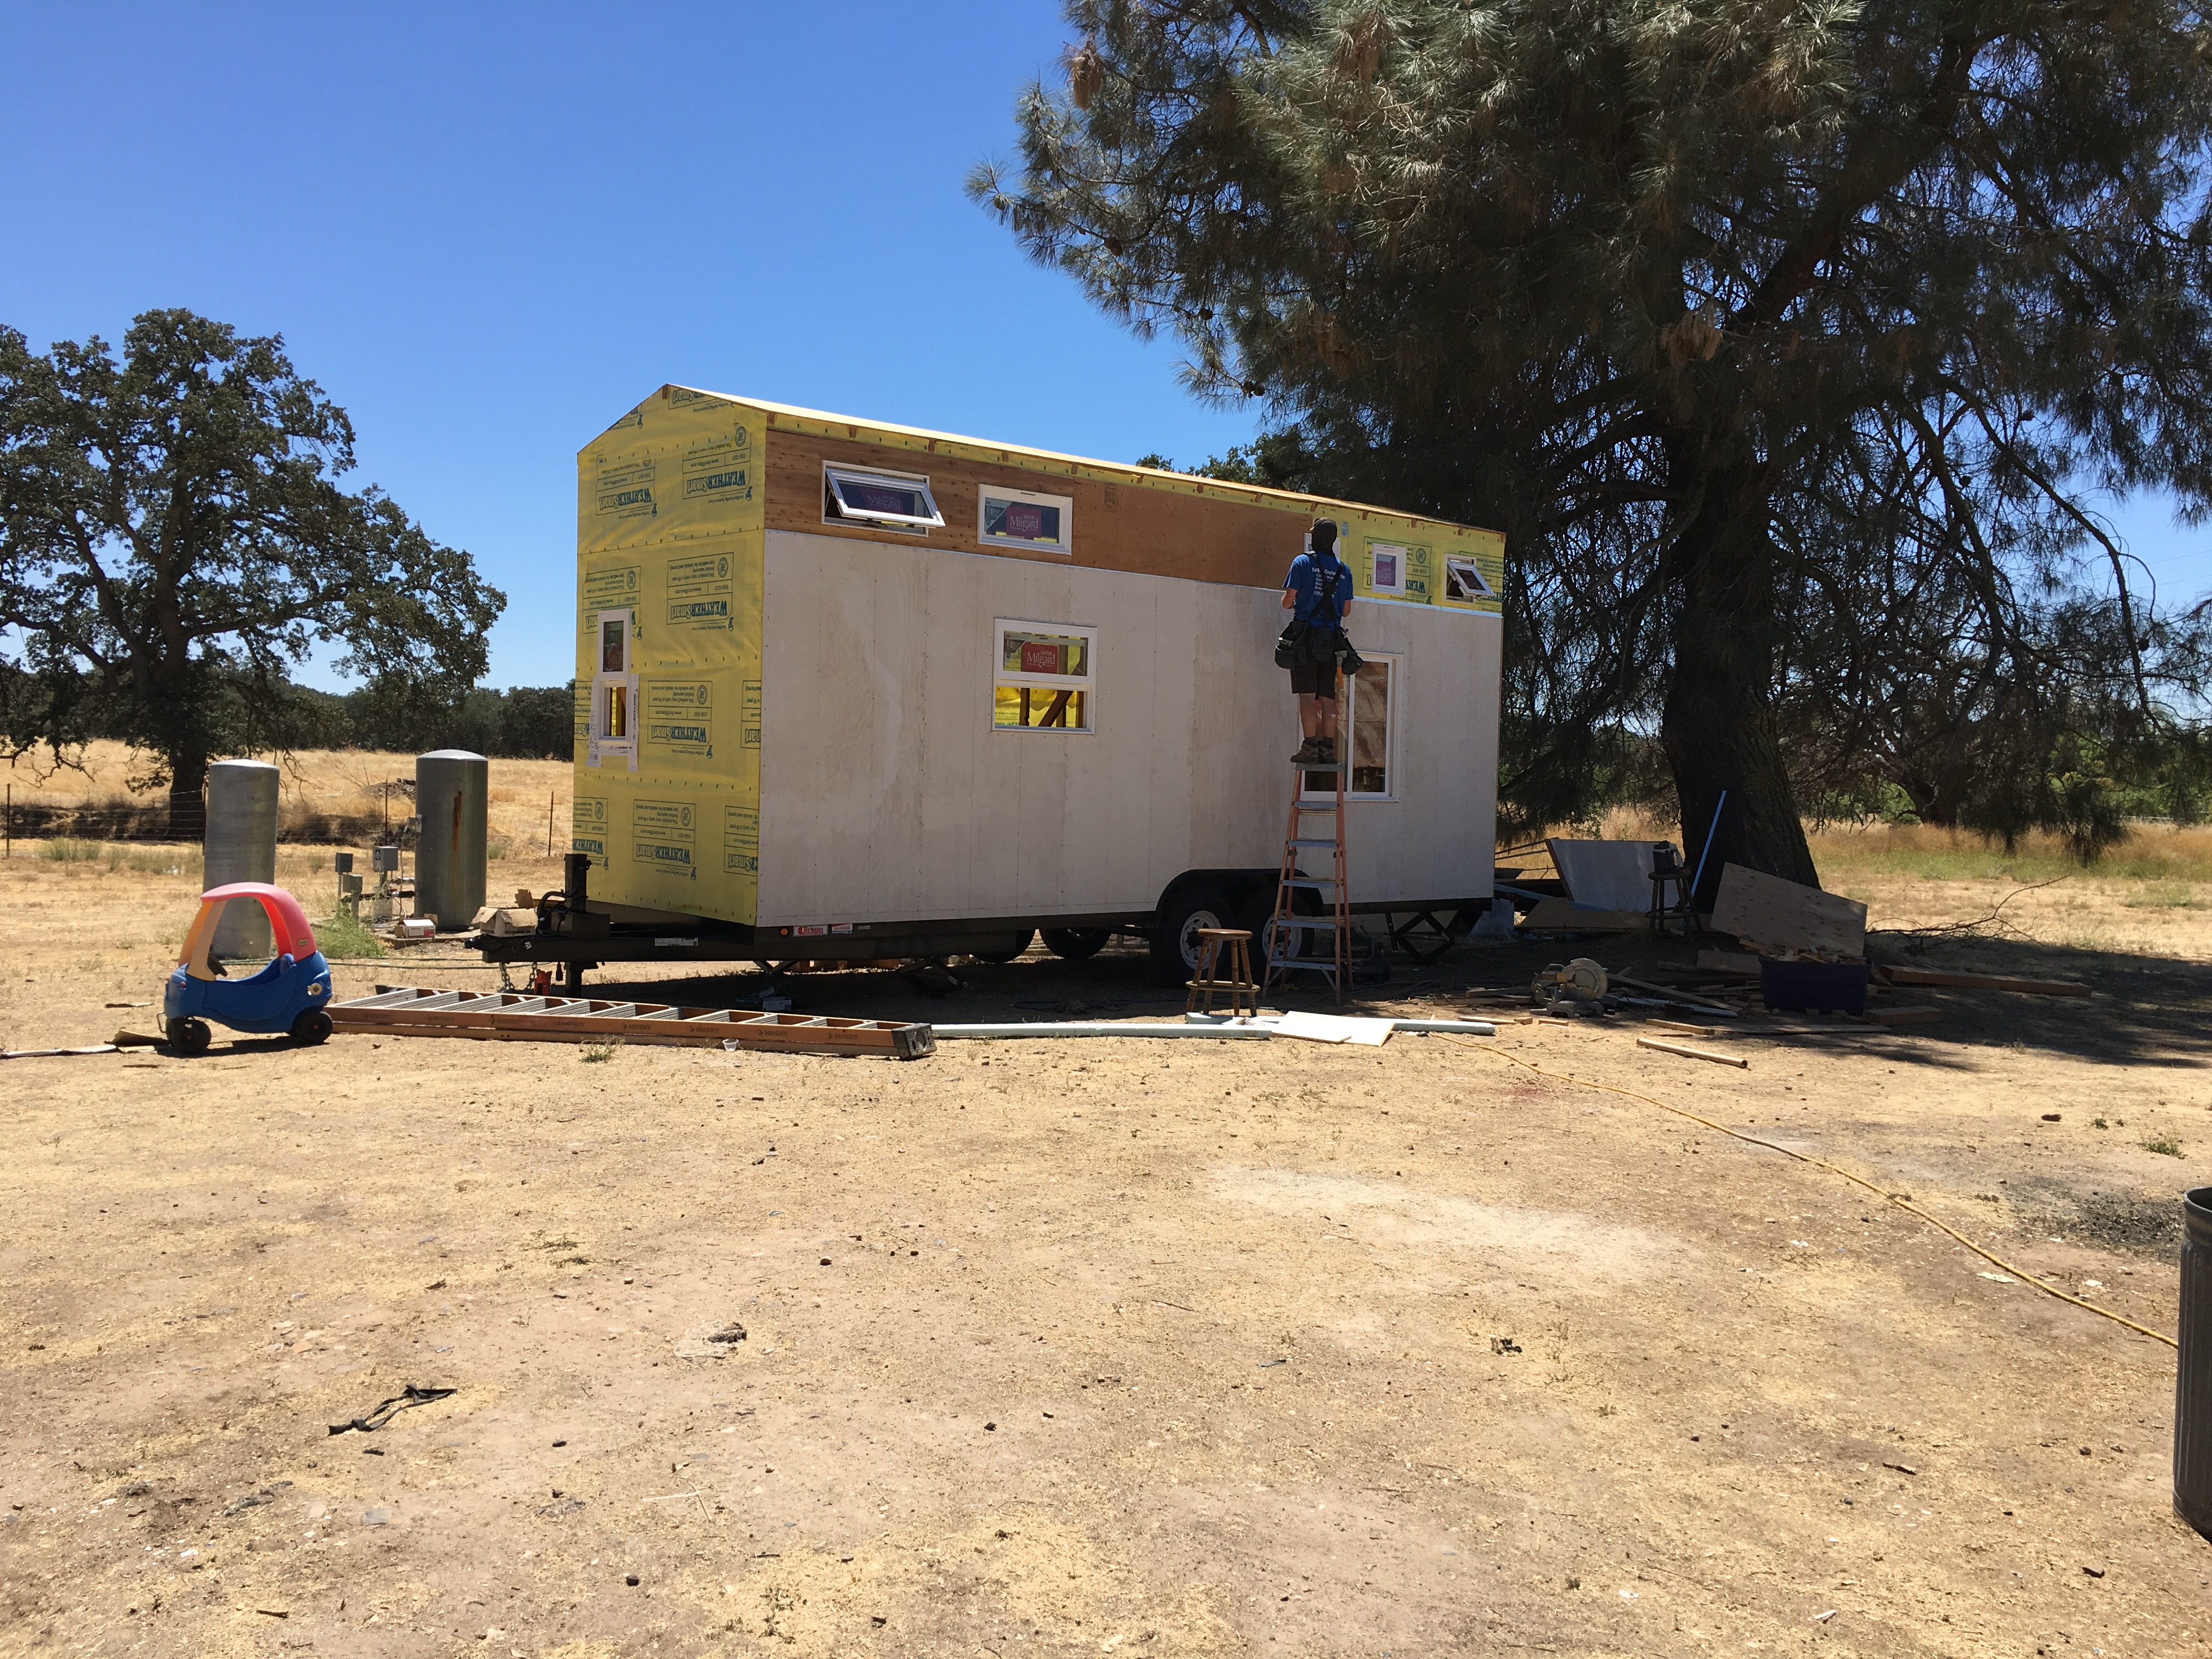
Next came a mixture of papering, flashing and window installing.

Nothing gets more exciting than when you start to see something form that you only daydreamed about for months. Seeing the windows go in made the tiny house actually start looking like a tiny house.

Round and round J goes.
We laid the paper directly on the studs, with the plywood exterior wood sitting on top of that versus plywood, paper then siding because our plywood exterior is acting as both sheer and siding. We went this direction because as we were already maxed out on our trailer width, we didn’t want to go over that amount with the added siding.
Tiny house materials already serving double duty!
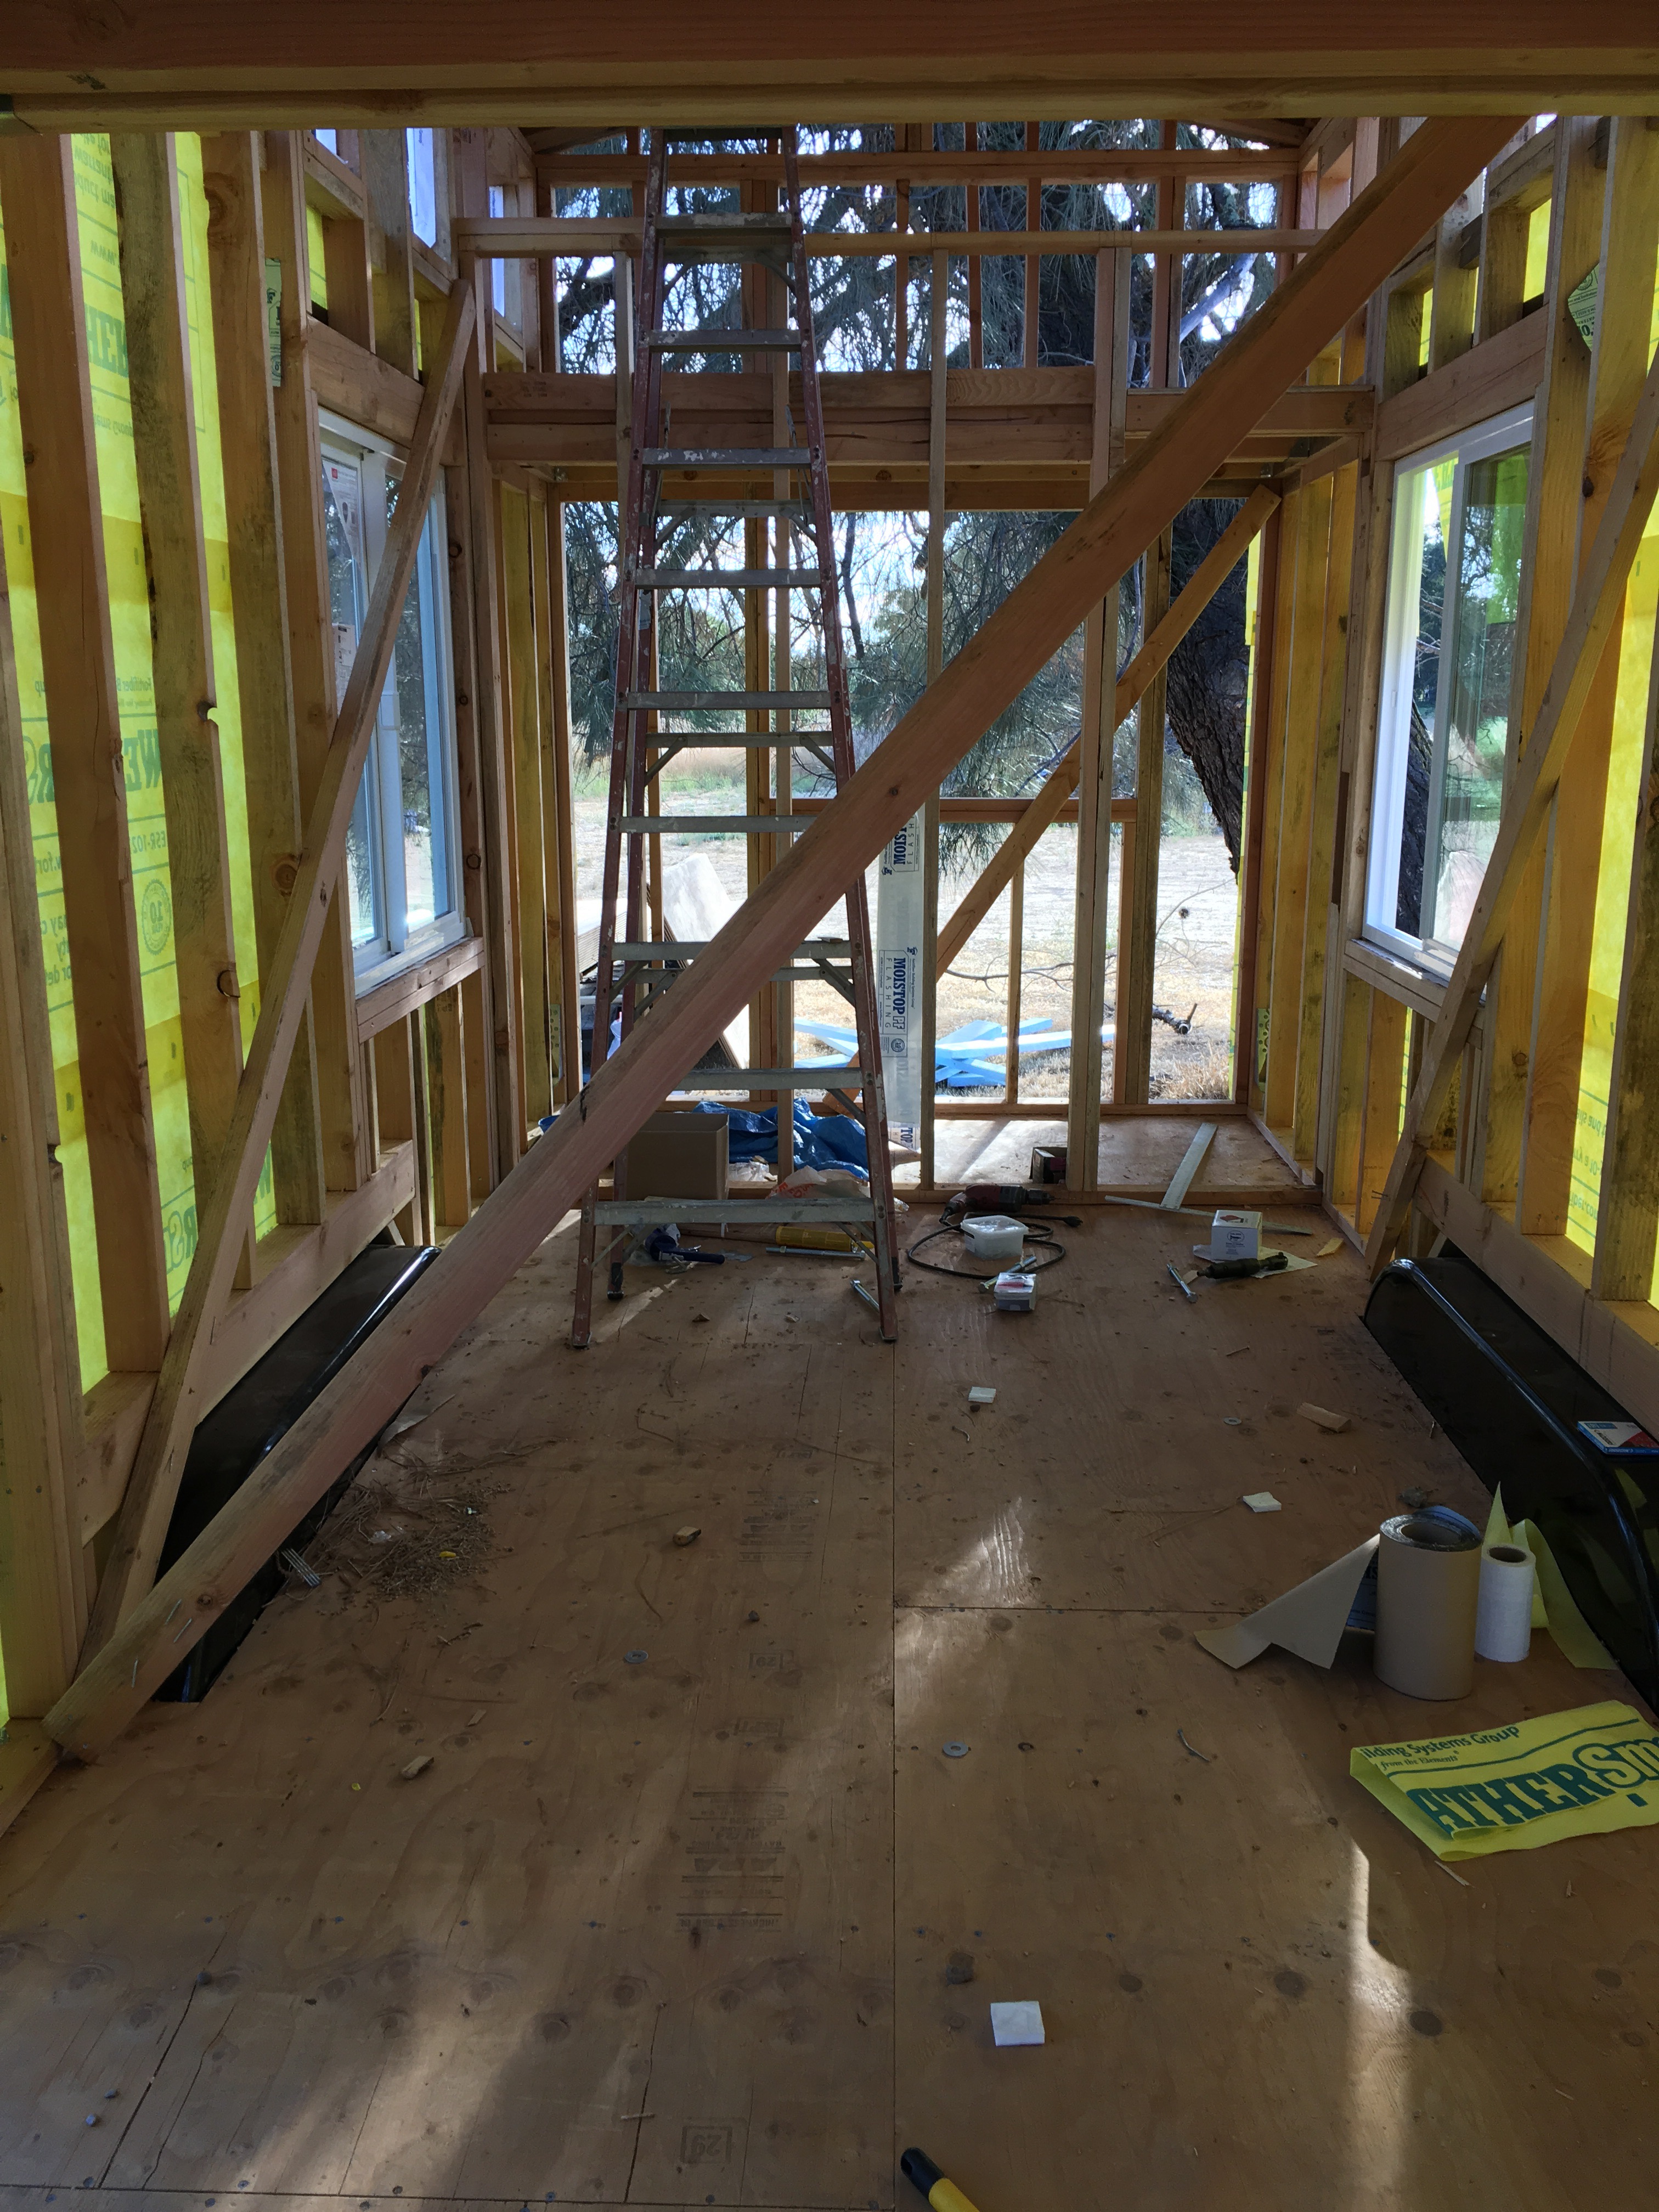
Amazing that in this picture, there will be part of our kitchen, our dining spot, living room, staircase, W’s room and the twin guest loft bed!

Nice view!
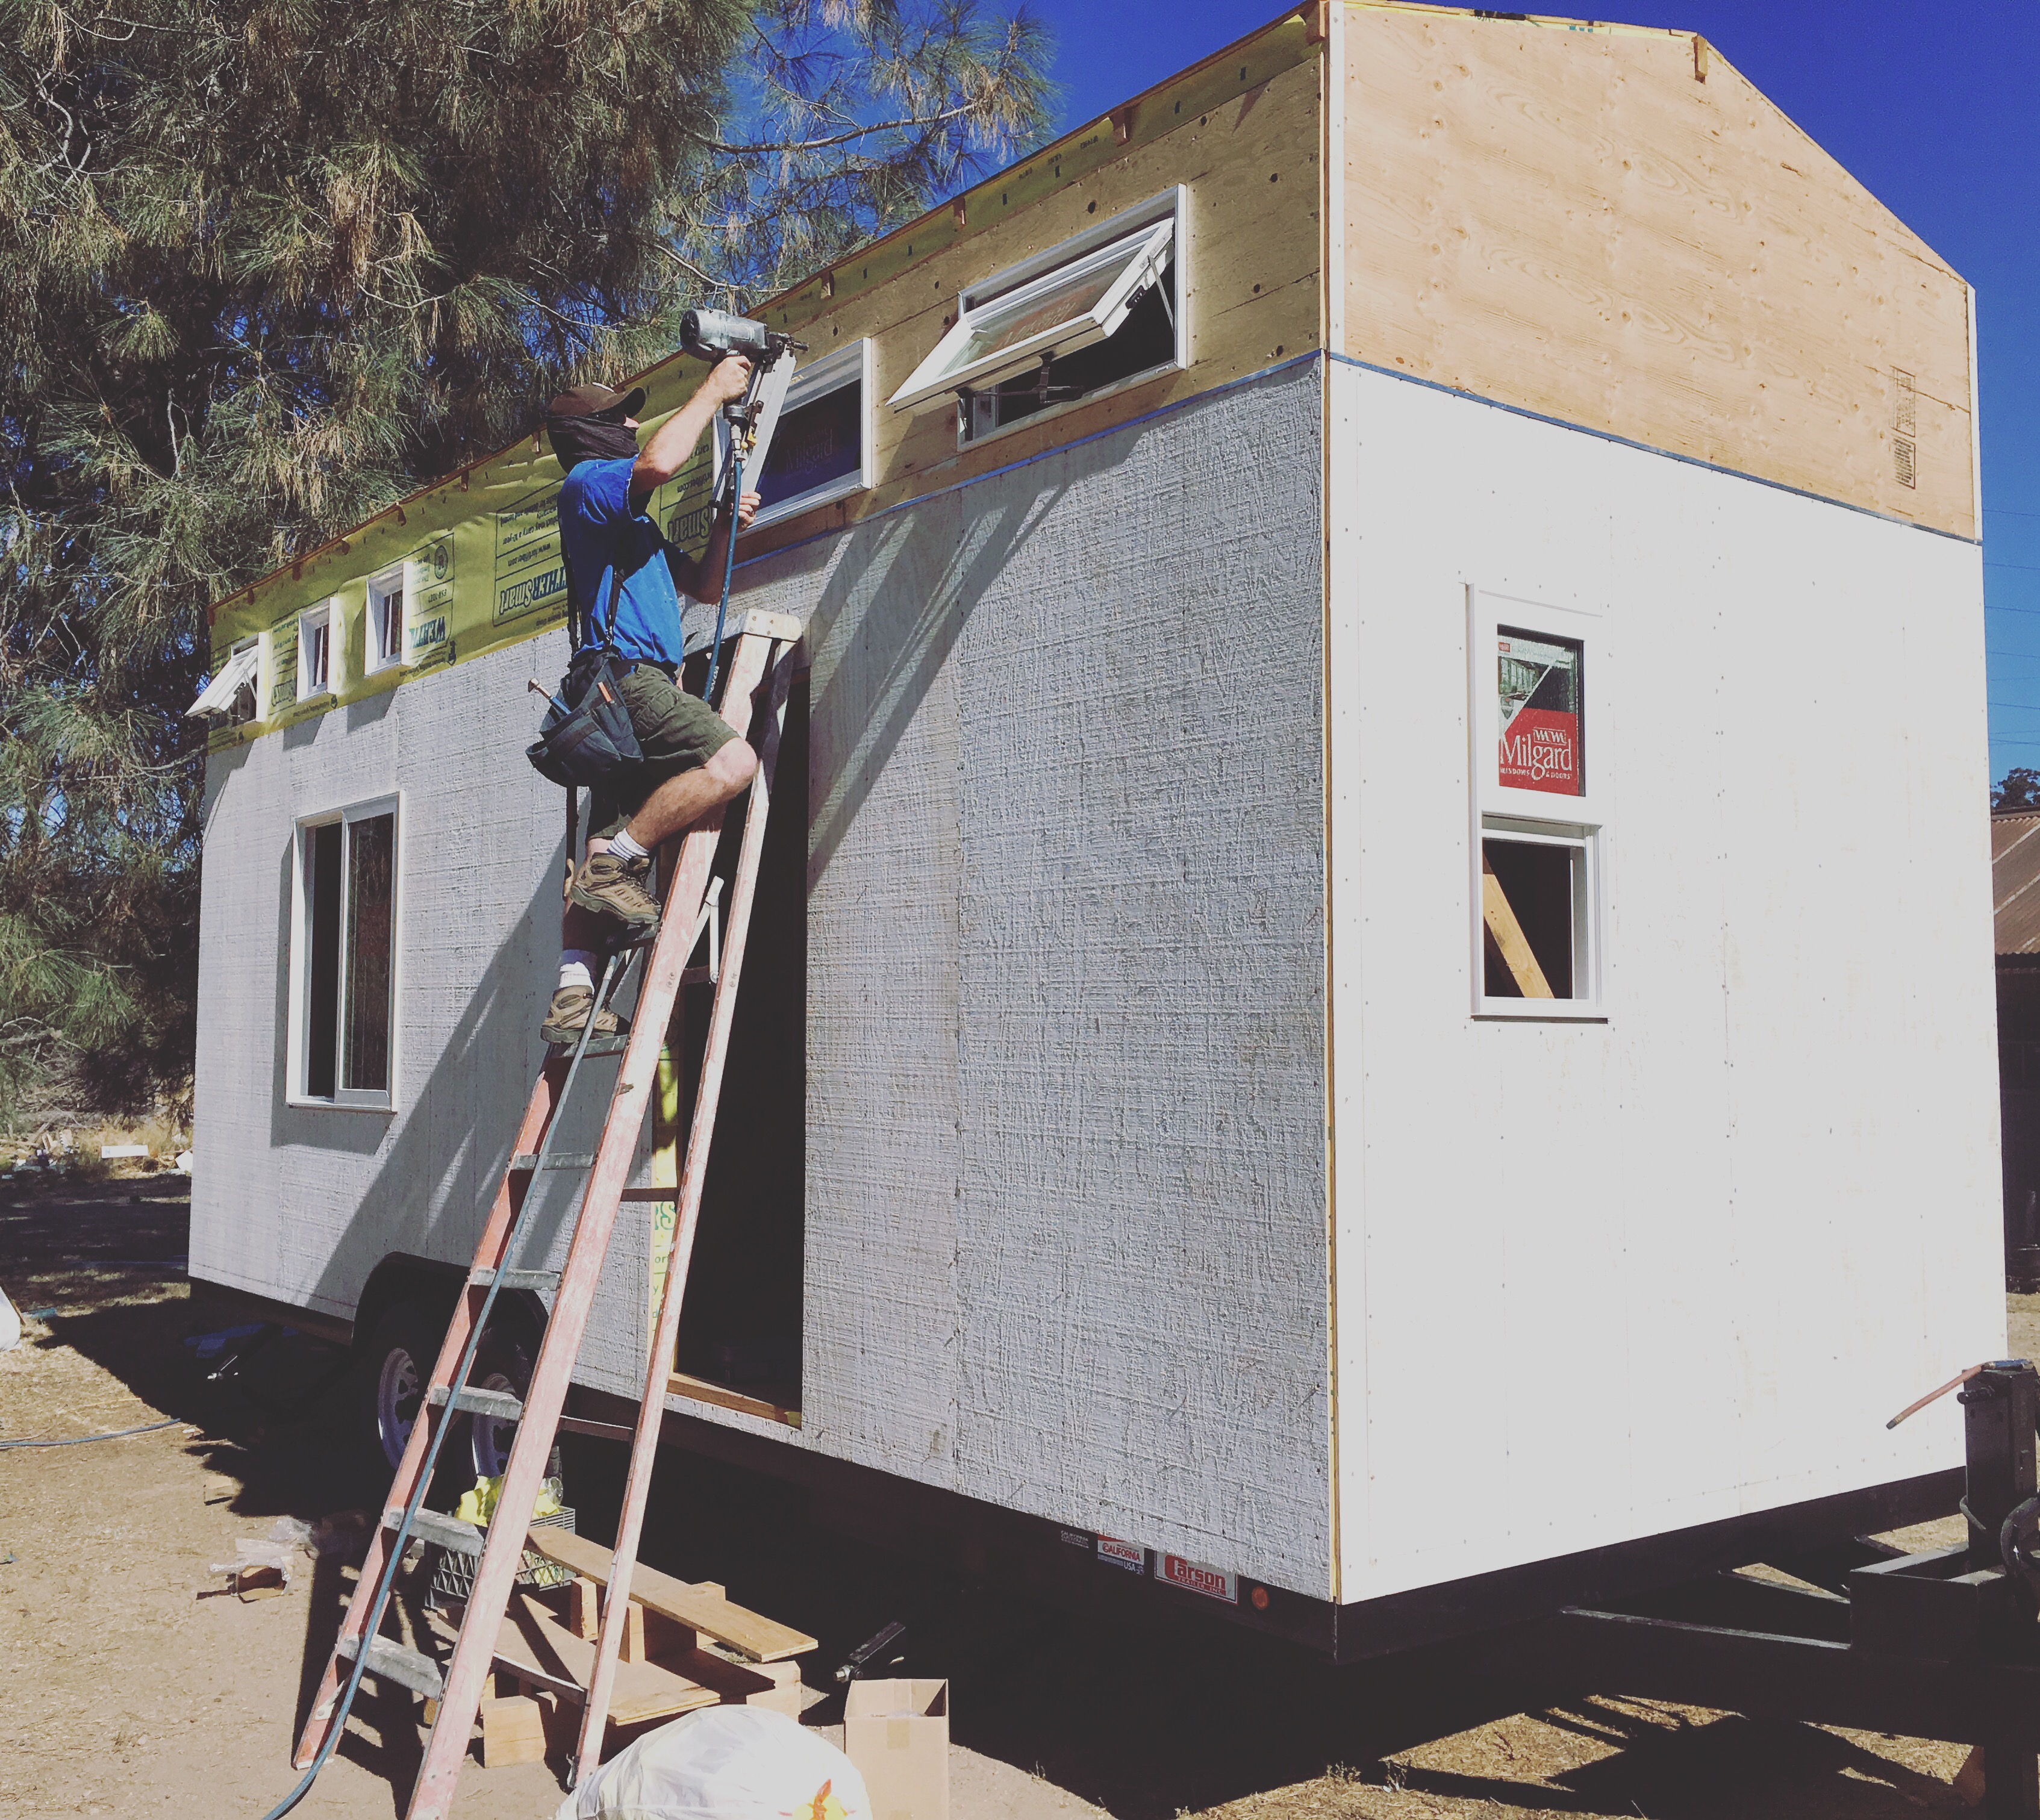
Once the exterior was papered, J had to devise a safe and reliable way to put up the plywood so he could nail it to the studs and make sure it was still level and not suddenly slip.
He took a spare (level) piece of plywood and clamped it so the top edge of that piece was where he wanted the bottom edge of the exterior piece to sit. Now he could rest the plywood on the bottom piece without worrying about slippage while he nailed it in place.

Once all the bottom plywood was secure, z bar flashing (to help prevent water seepage) was set on the top edge and thinner pieces of plywood were added to the top. Cedar shingles will be (hopefully) nailed into place at the top in the coming weeks, along with the battens for the bottom.
Just a few more pieces to go!
Once all completed, W and I enjoyed some Popsicles after all the hard supervising!

Stay tuned for Part Two!
-C

I think I speak for a lot of people following you that I really enjoy seeing the step-by-step process and details of construction on your tiny house project. Keep it up!! Love you guys.
LikeLike
Thanks dad! That means a lot!
LikeLike
Wow, your home is looking really great. Good luck with everything.
LikeLike